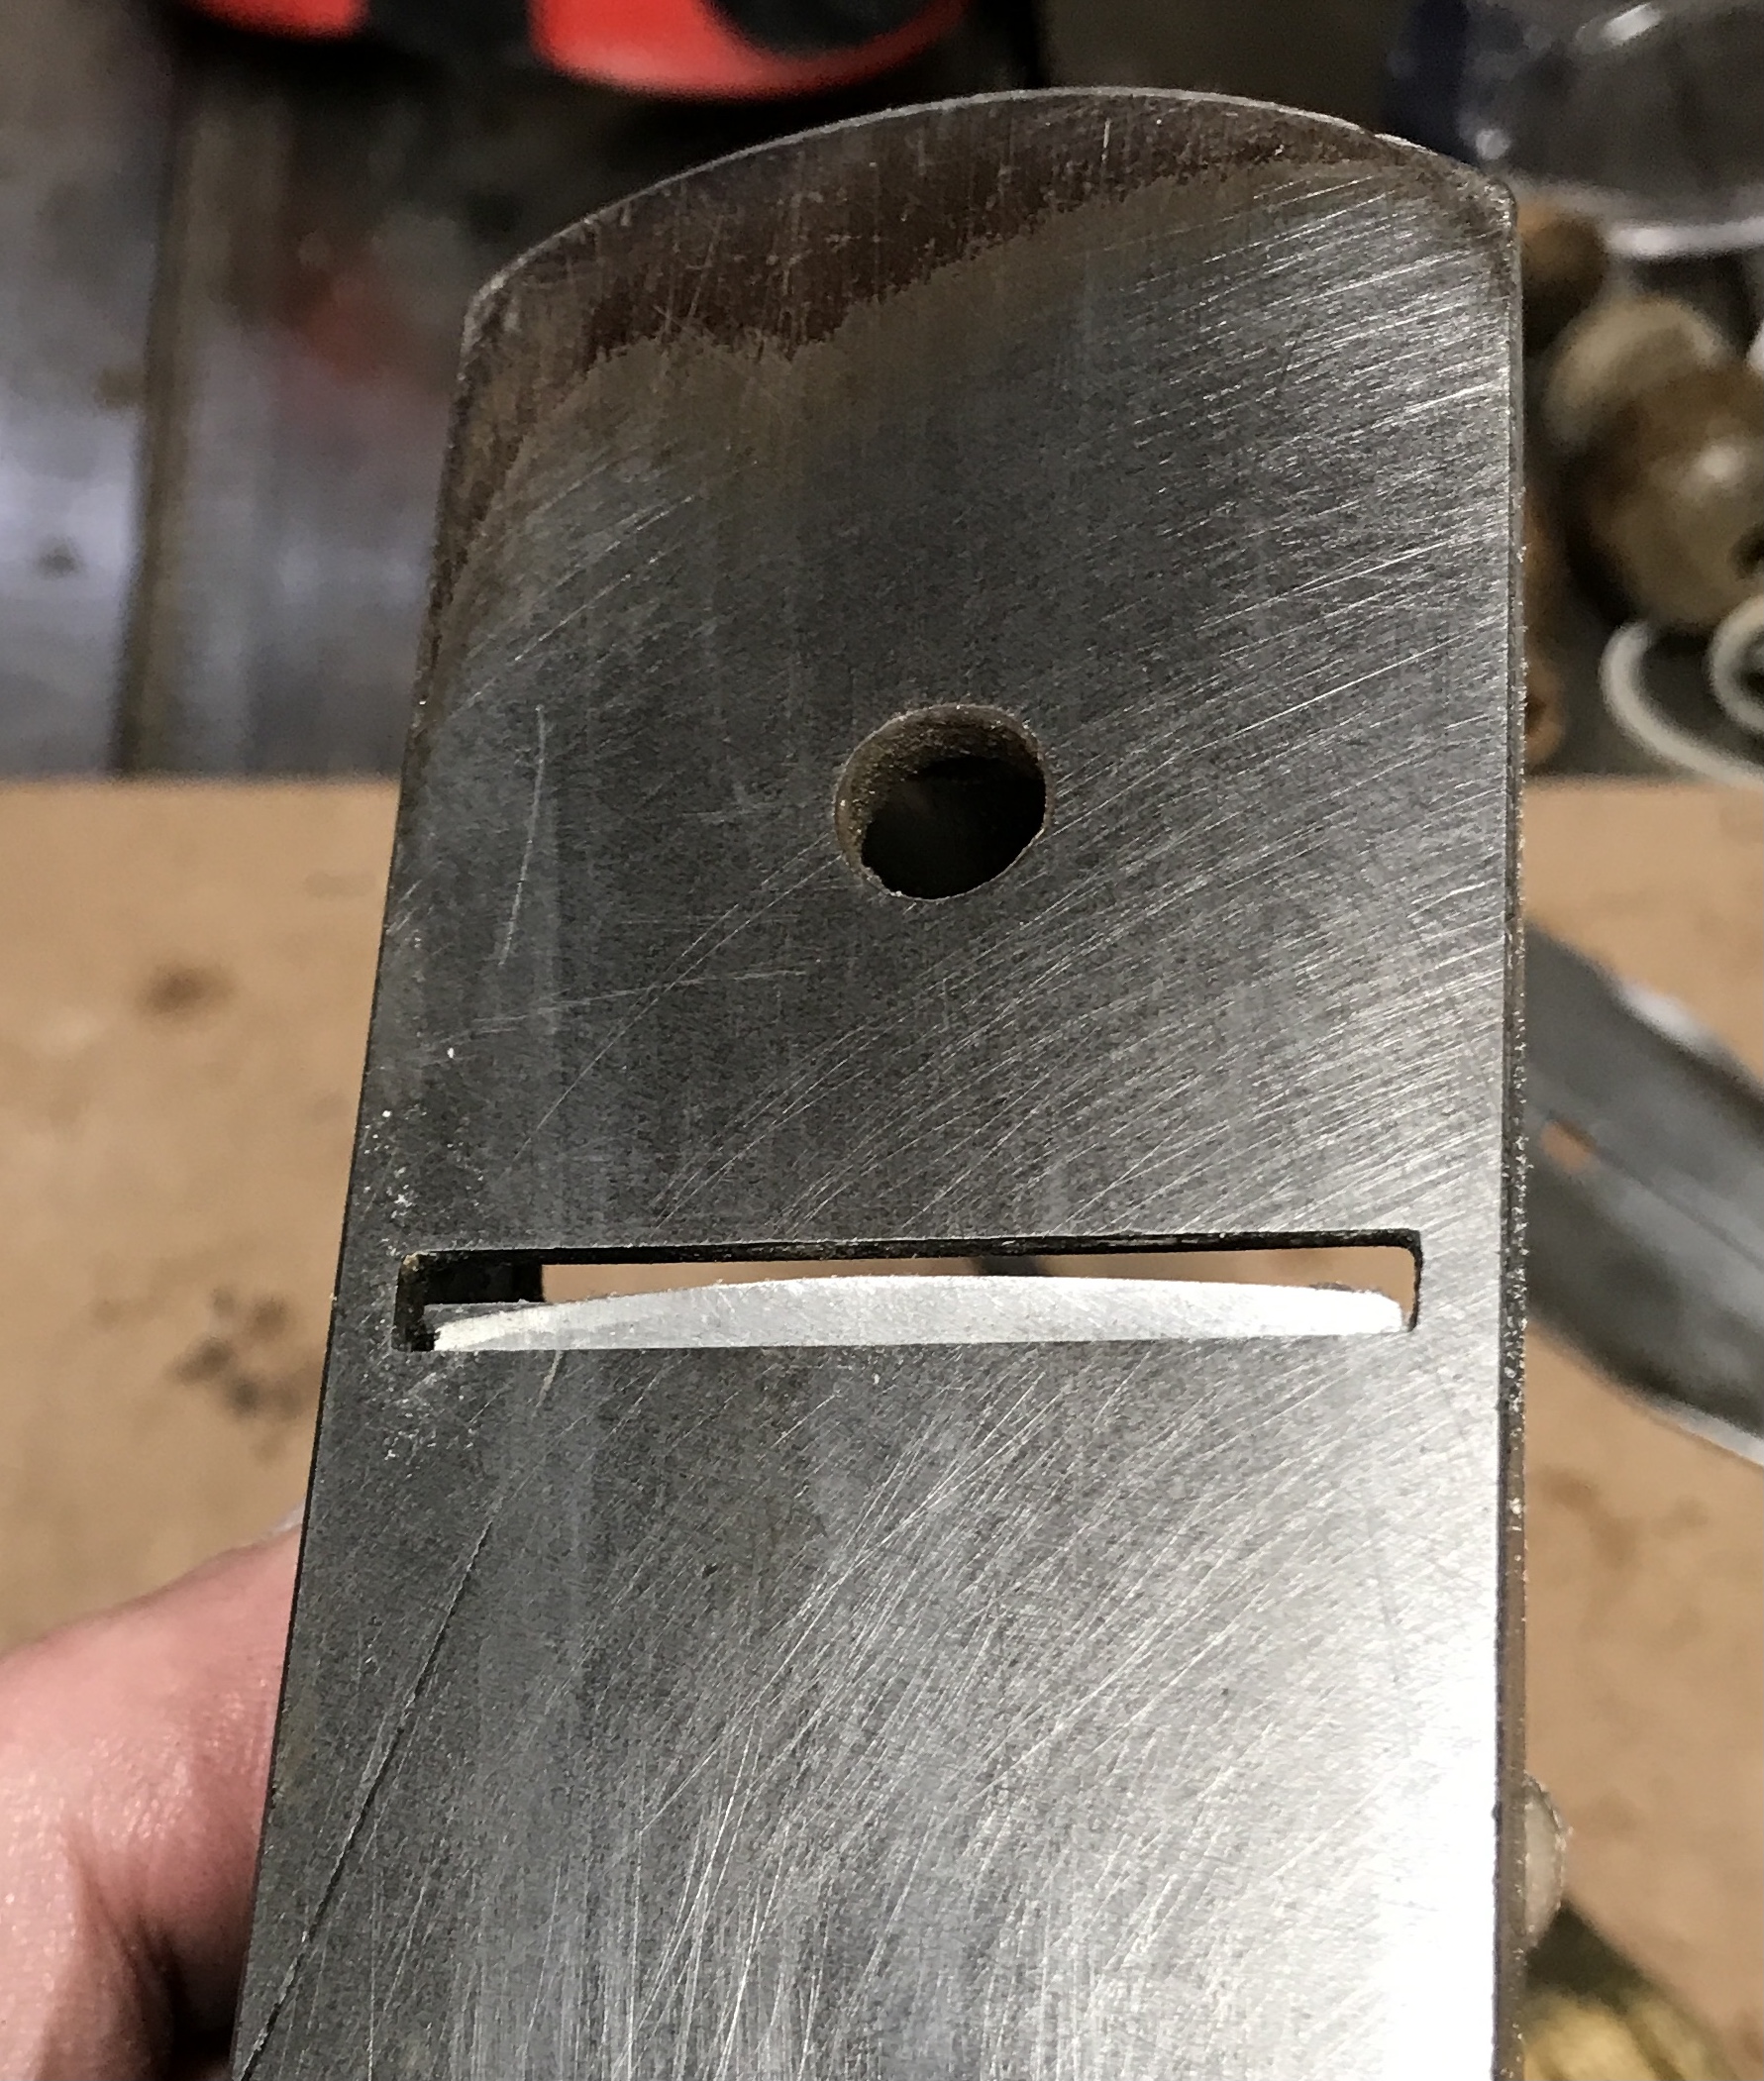
I just finished a course on tuning and using handplanes at Marc Adams School of Woodworking. It was taught by Stephen Proctor. One of the keys to a good hand plane is how well the frog (holds the blade) mates with the plane body. Doug Pearson gave me a plane he had purchased and never used. It is a Craftsman plane. Where the body and the frog meet was painted on both parts. These surfaces need to be ground in place. Consequently, I did not use this plane during the course. The photo below shows the painted mating surface of the frog.
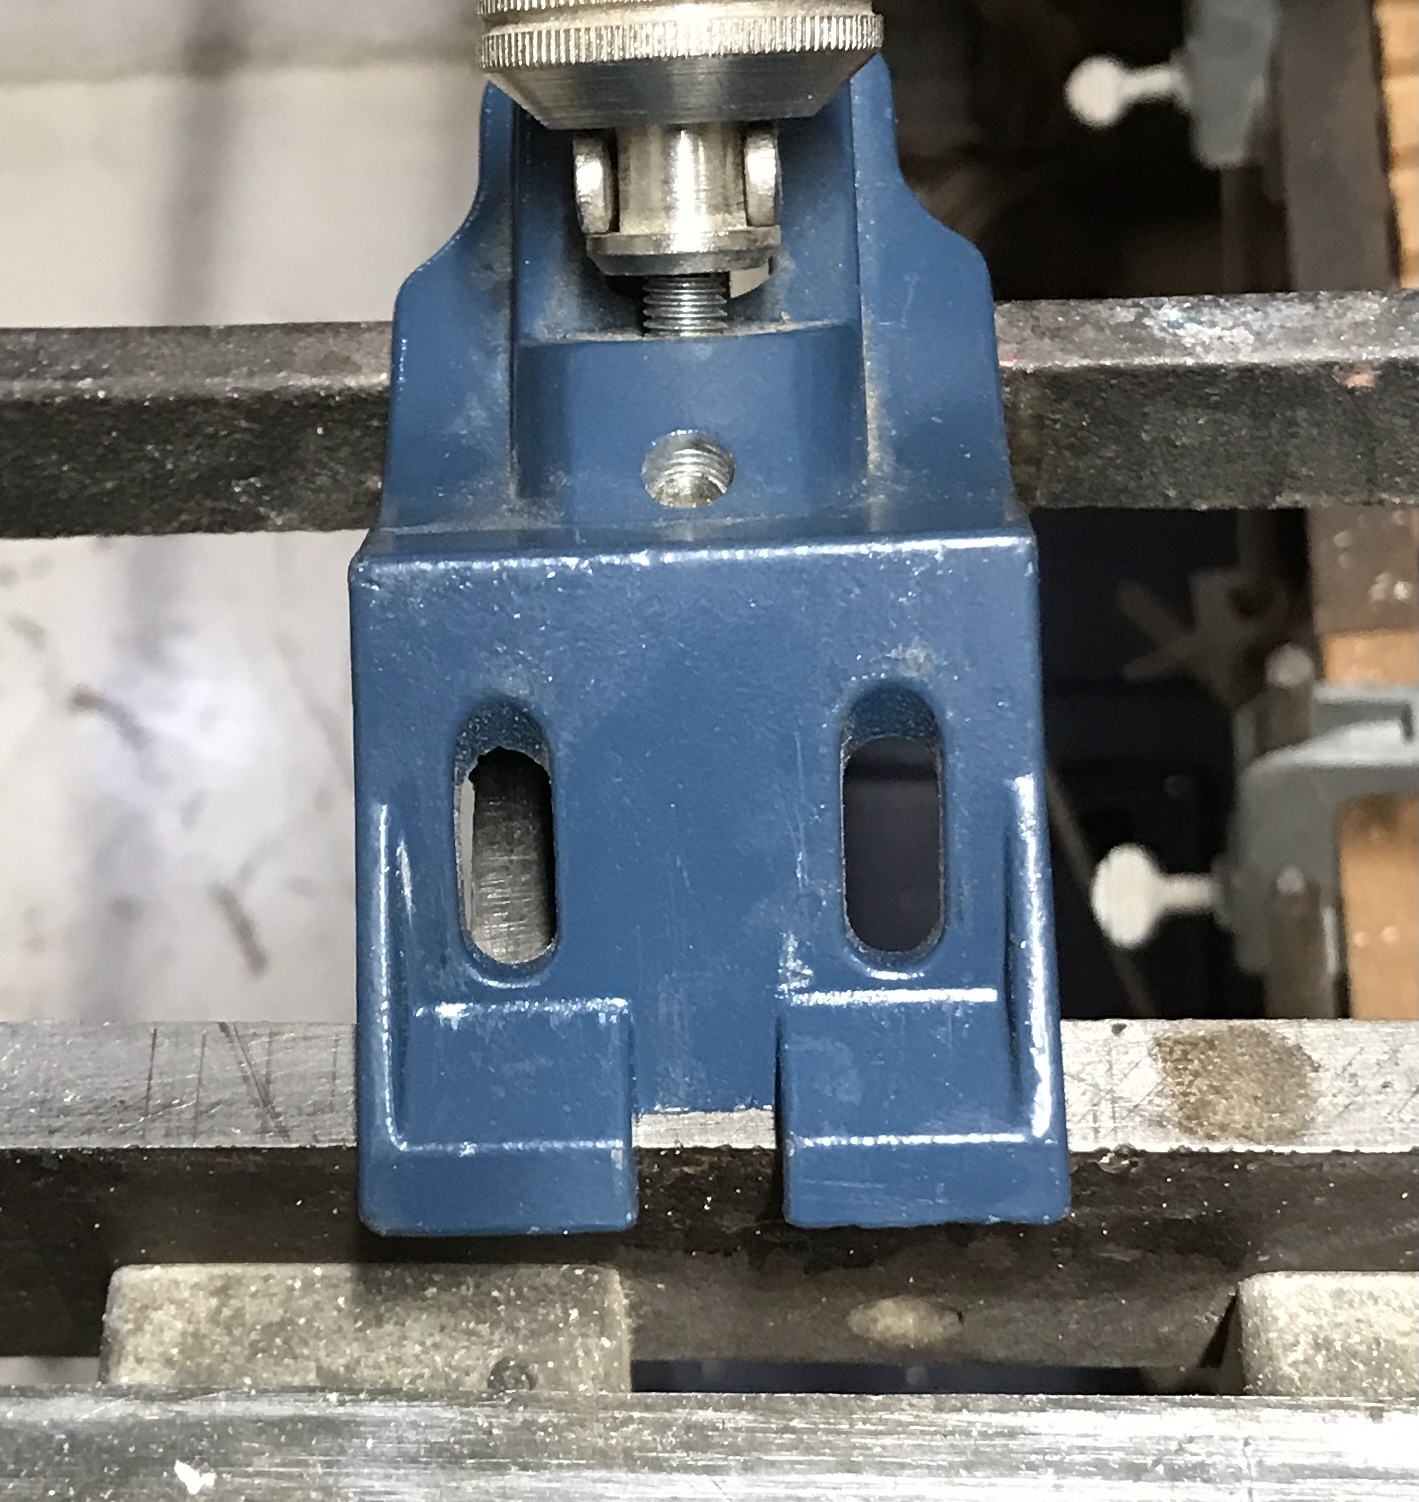
I decided to repair this issue and see if I can get this plane to function well. The rest of the plane is in great shape. The big problem with the mating parts was that the frog sat so high the two front feet did not touch. In fact they were 0.076" too high. This was determined by slipping a series of small drills under the feet.
The body of the plane was clamped in the mill. It sat on two vee blocks and was clamped with 3" C-clamps. The first pass was made with a 3/8" end mill. This was extremely noisy due to the chatter. The finish was also not very good. The two photos below show the clamped part and the first pass.
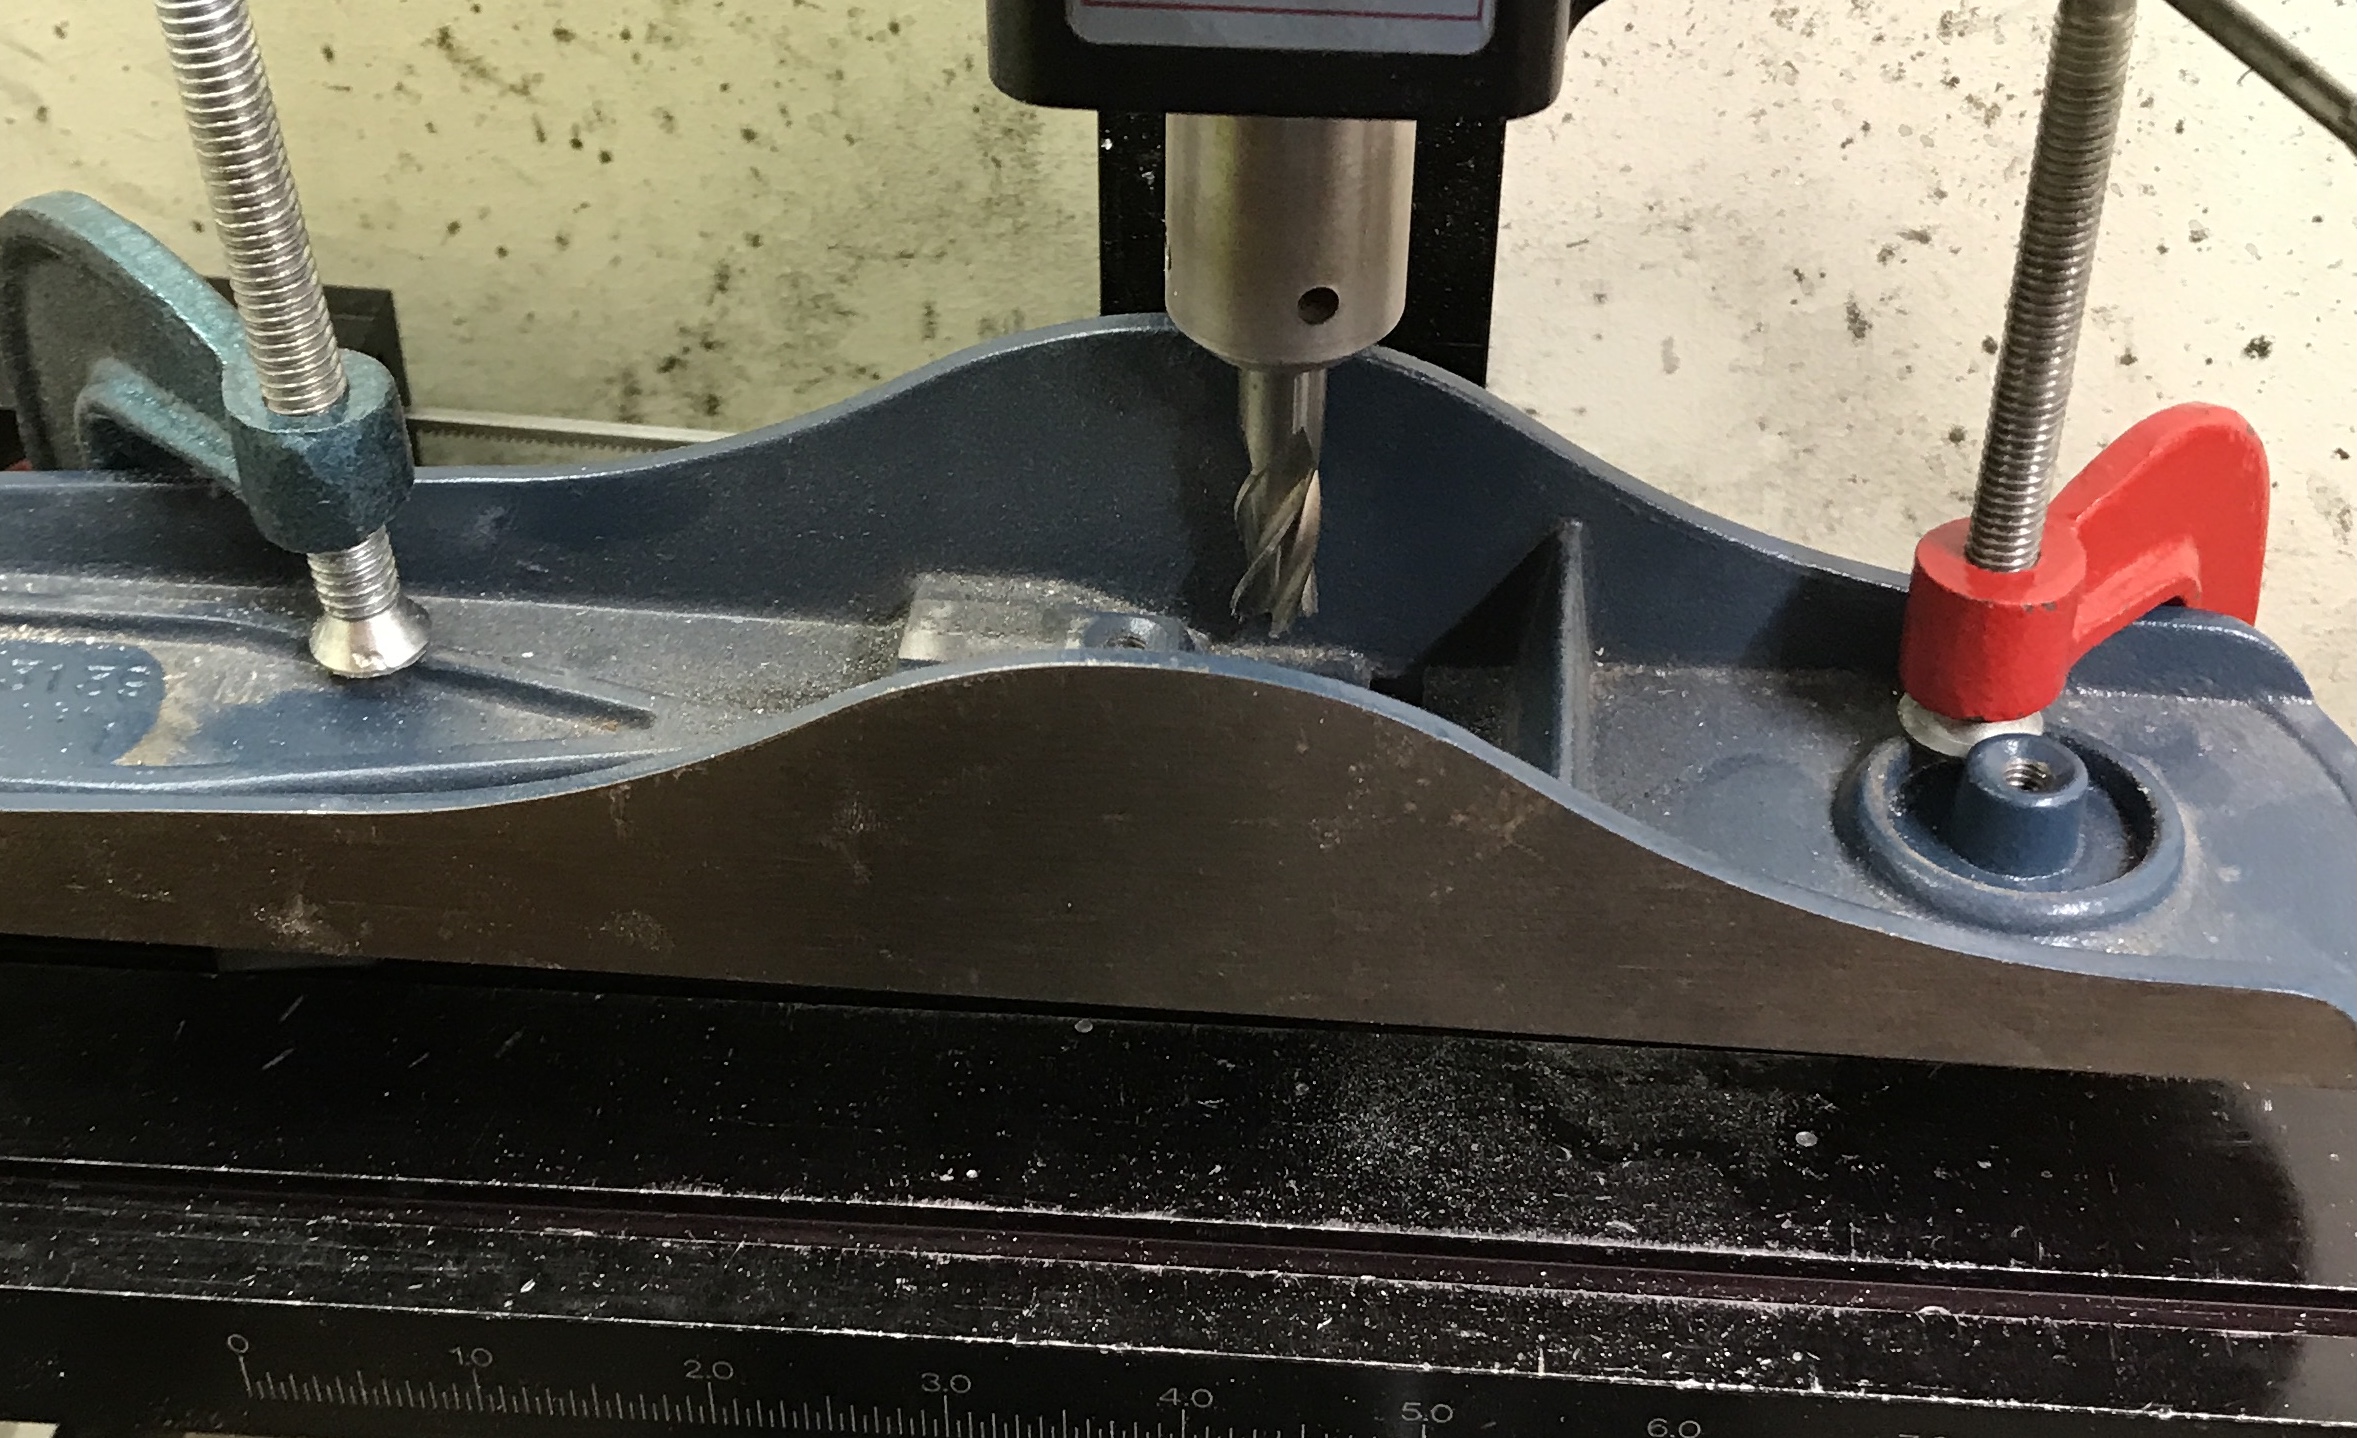
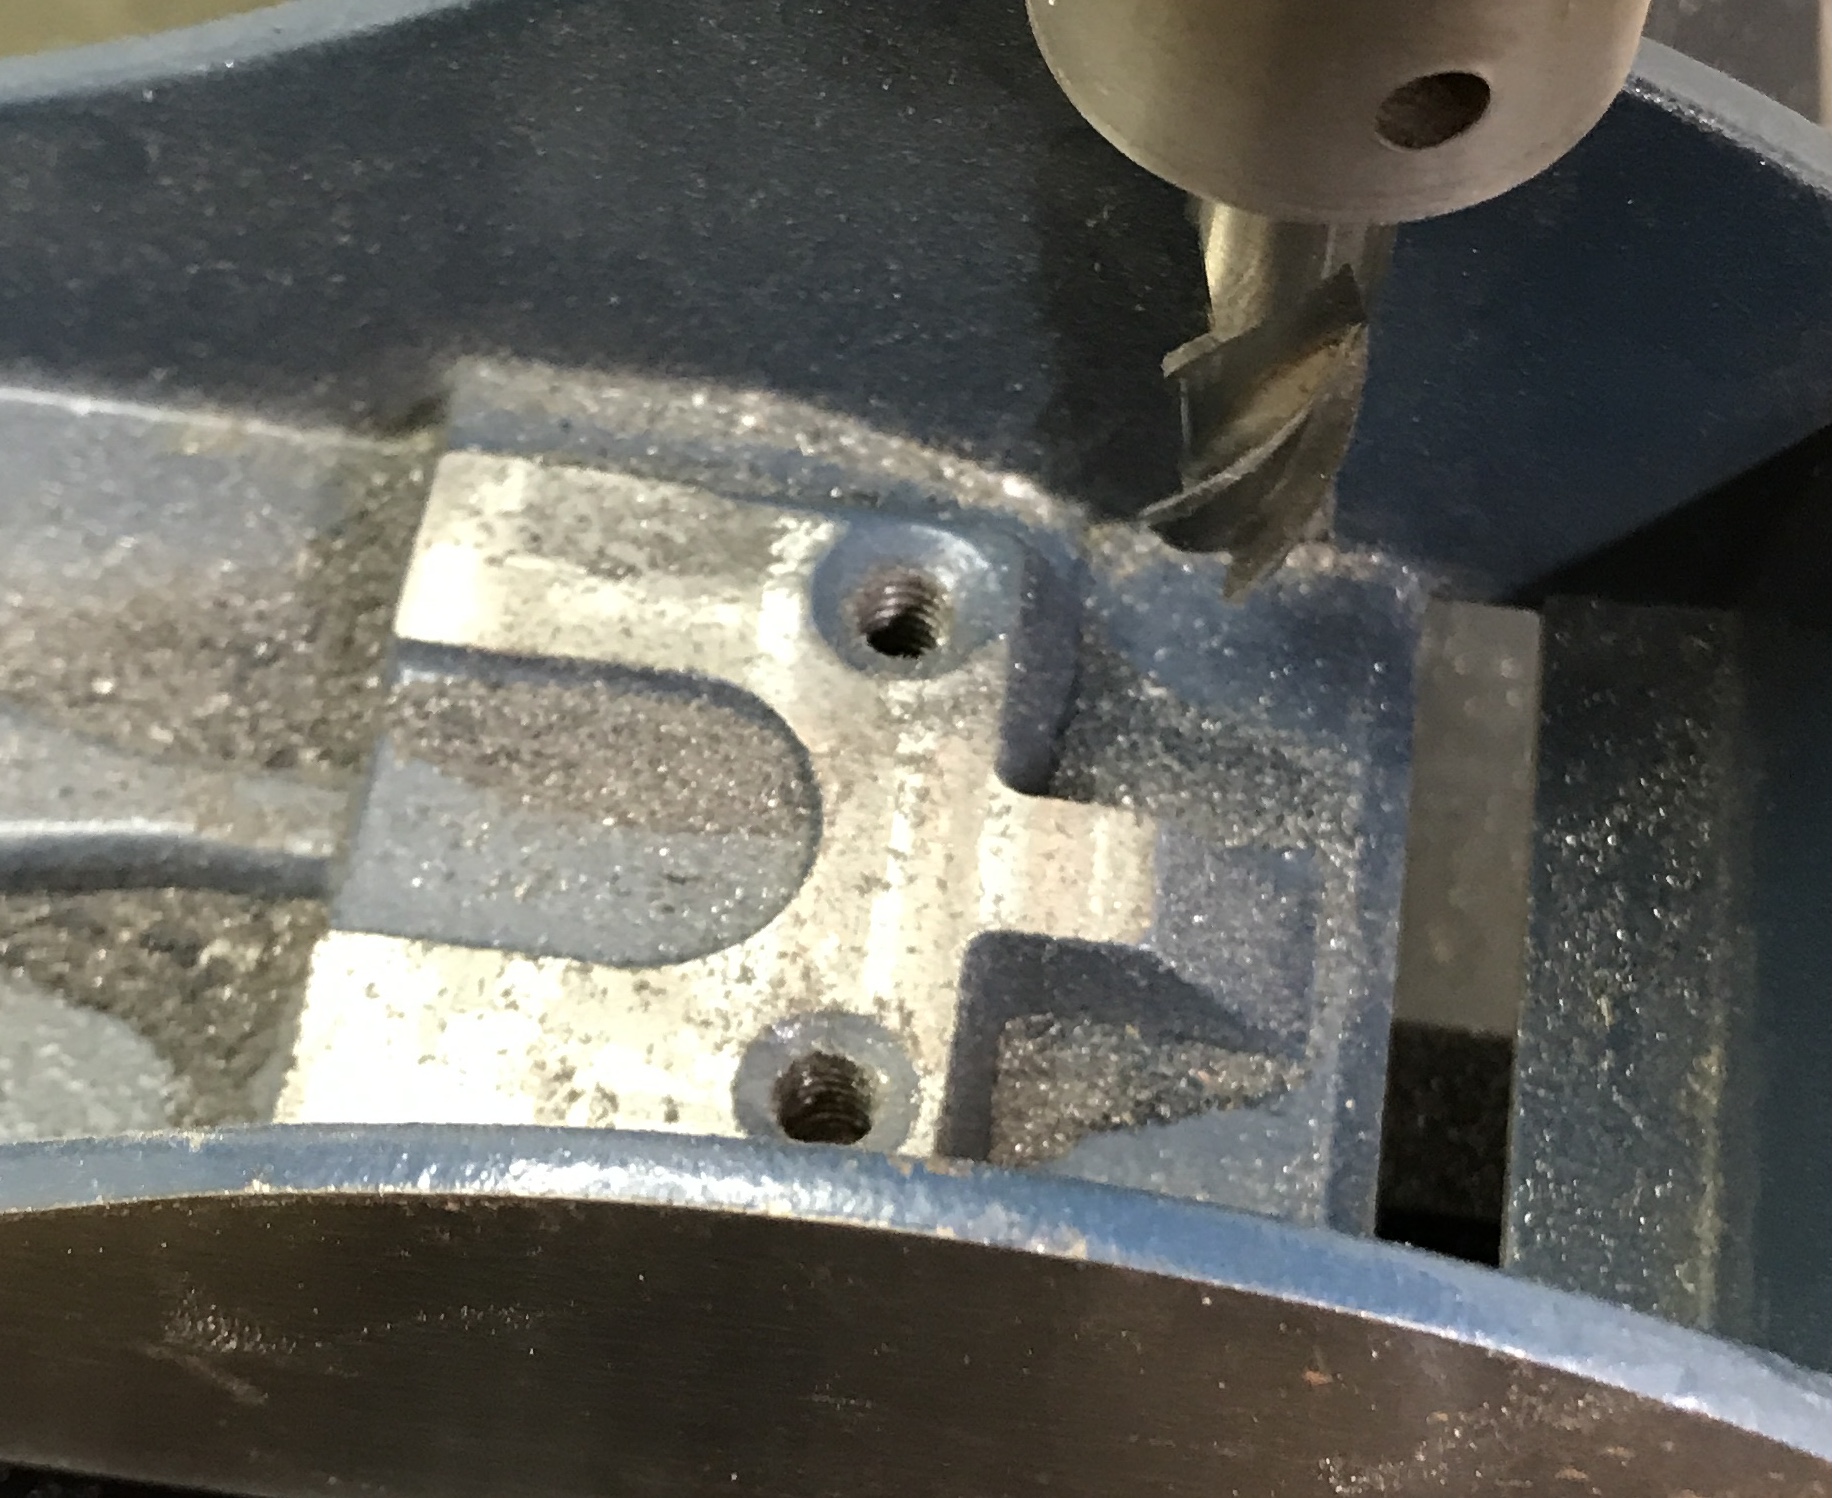
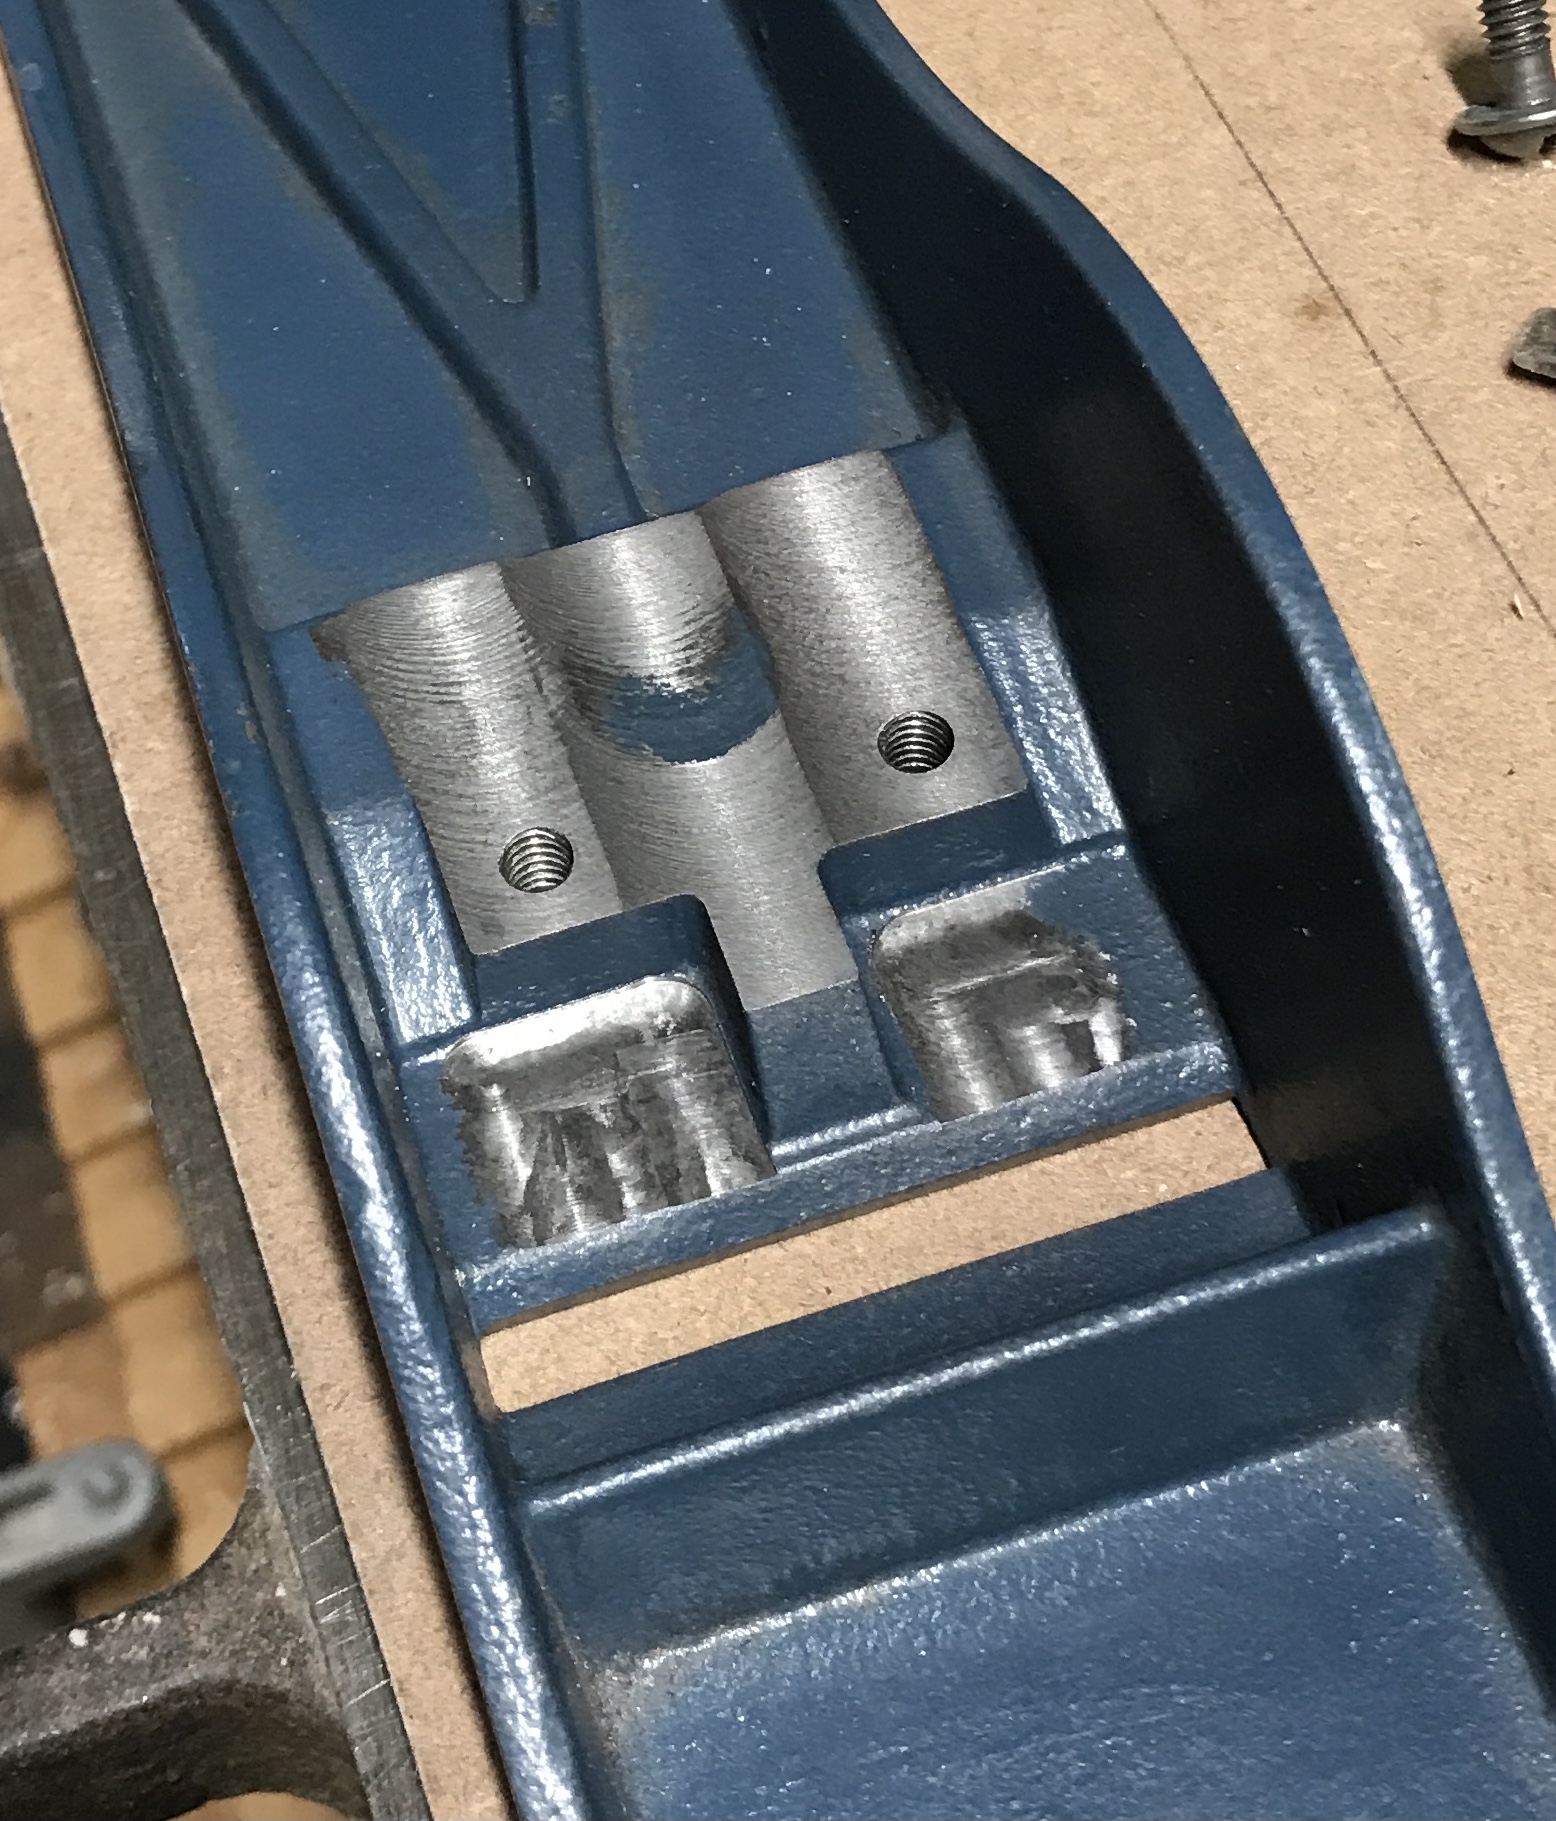
The 3/8" end mill was swapped for the two flute insert cutter. This gave a much better finish with little chatter. A total of 0.075" was removed in 0.005" passes. The area where the feet of the frog rest was also milled using a 5/16" end mill. Only about 0.002" was removed. This removed the paint and leveled the "foot rests".The finished milling is shown below. At this point the frog rests nicely on all areas with little wobble. !
The raised surface built into the body to support the frog was completely removed as can be seen comparing the two photos
The next steps are first, removing the paint from the frog bottom with paint remover. Second, is grinding the two parts in place with valve grinding compound. This latter was ordered from Amazon.
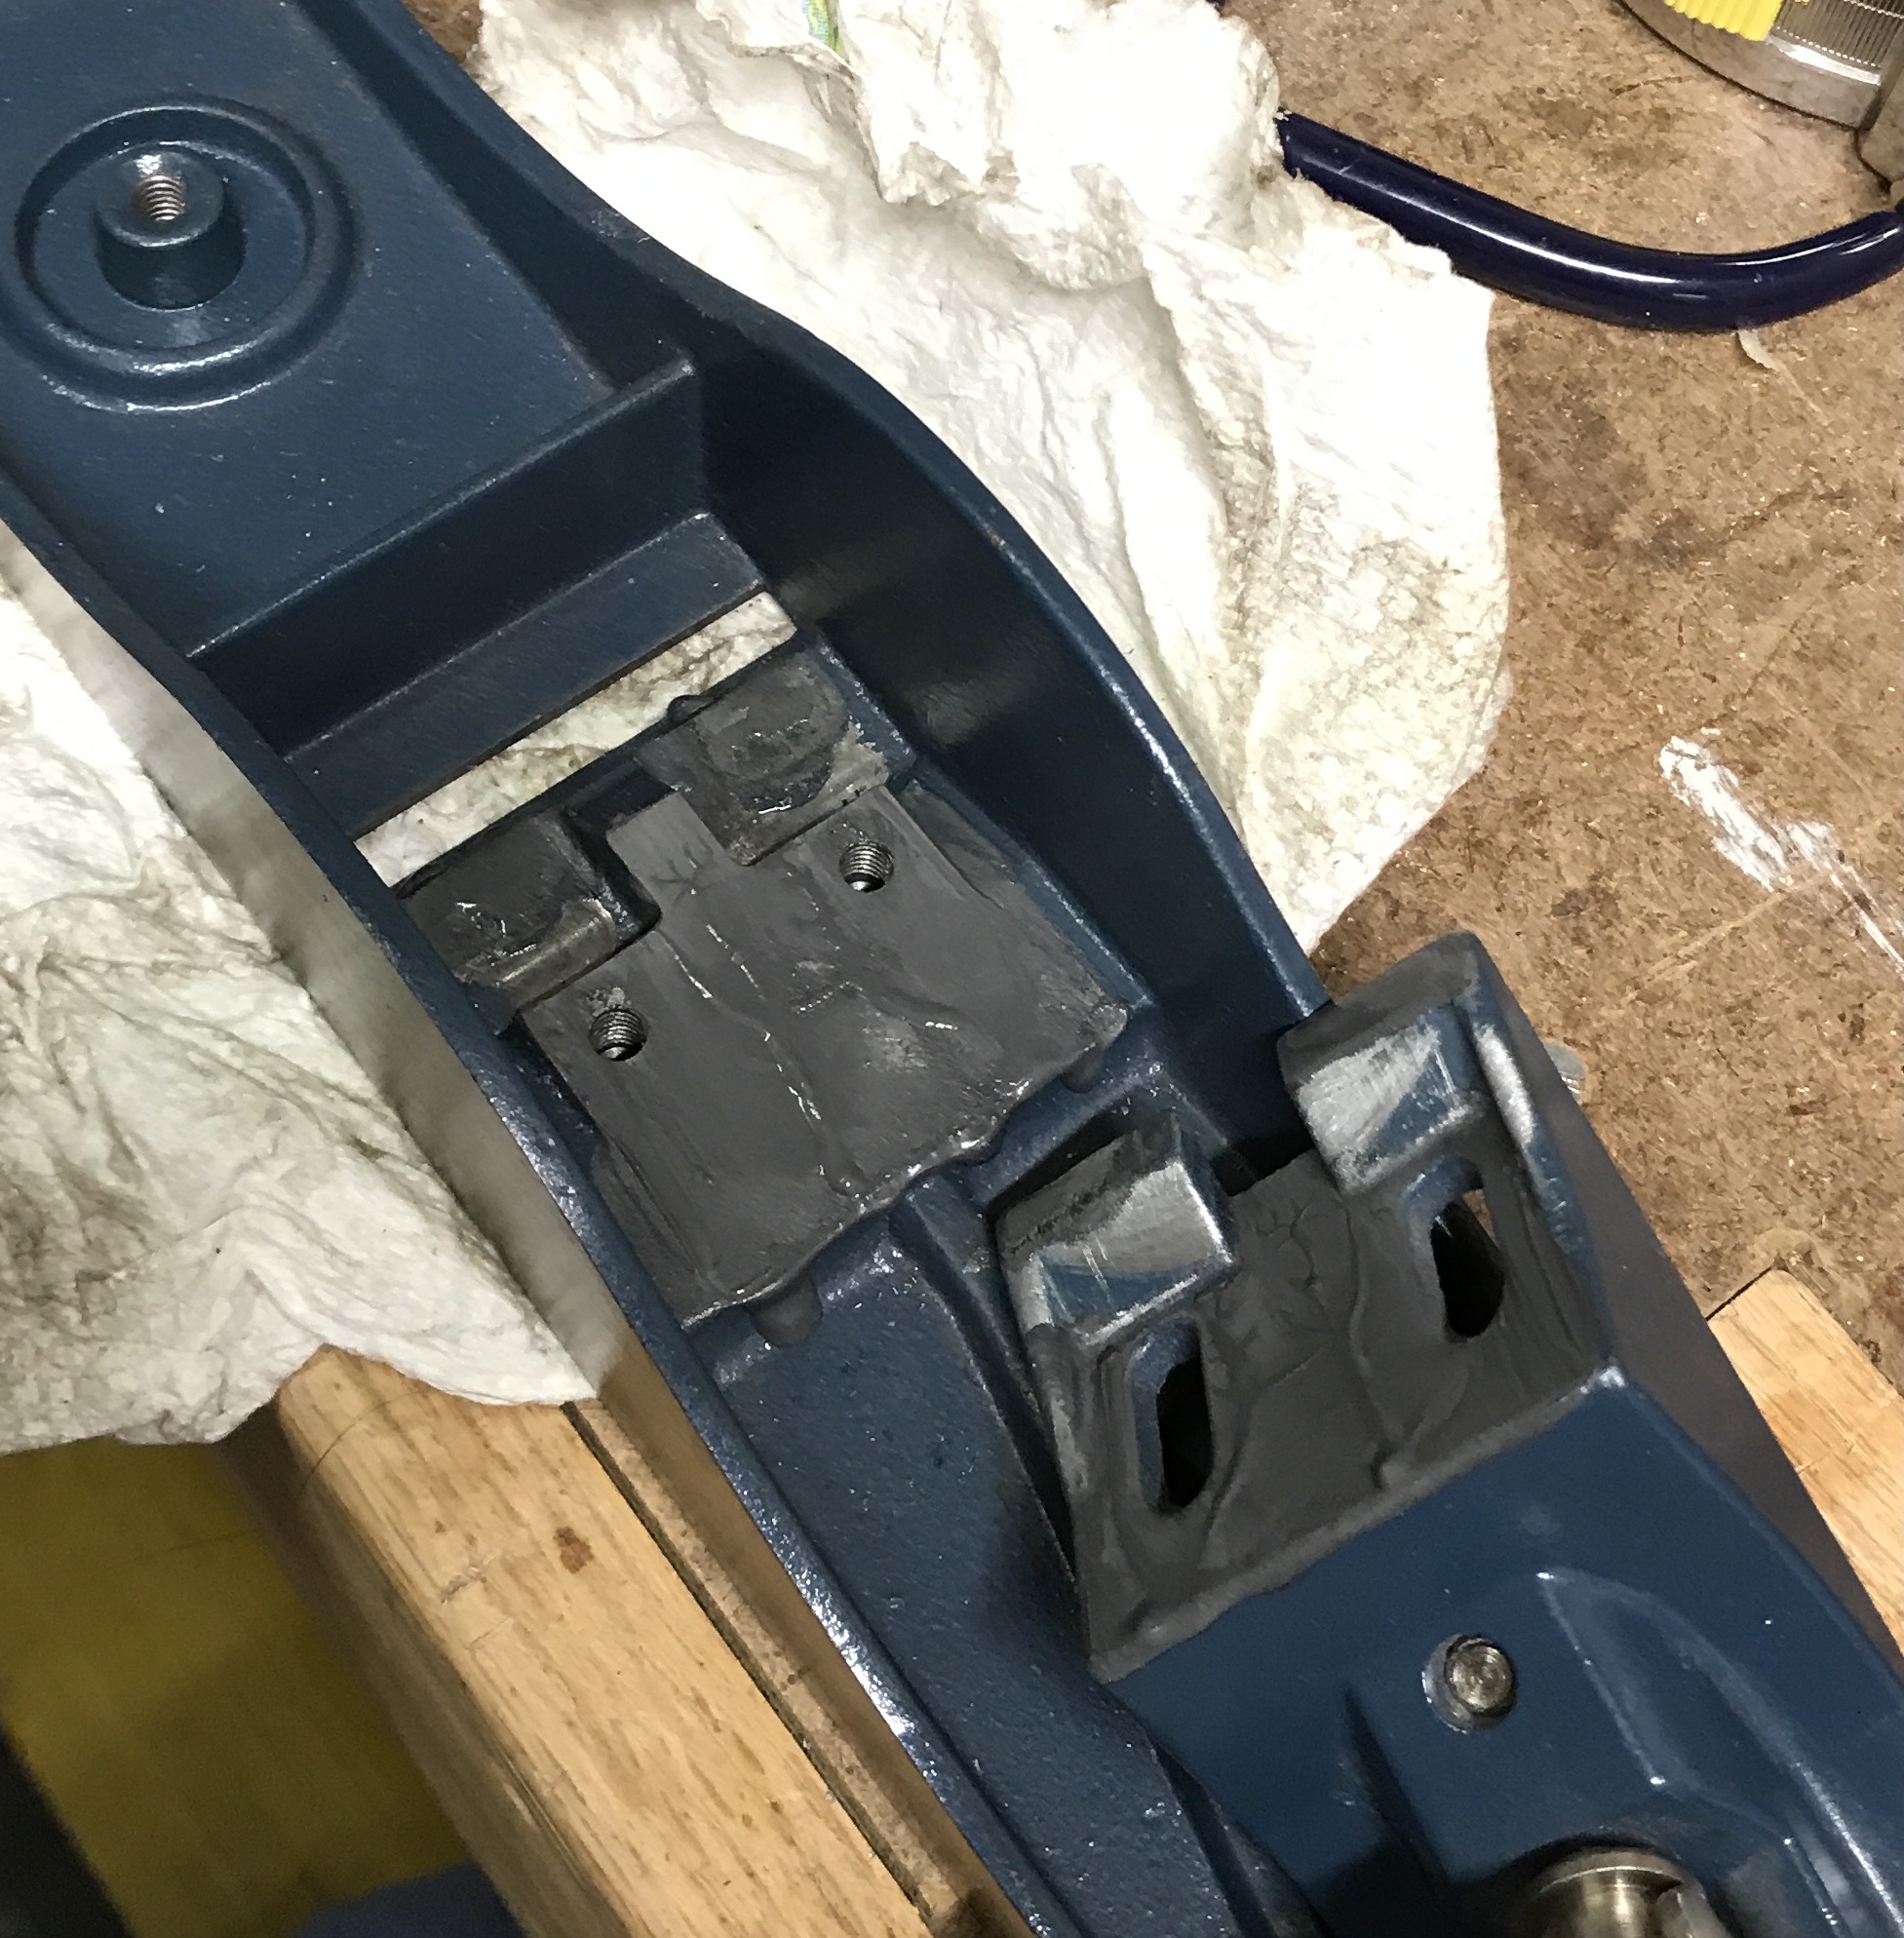
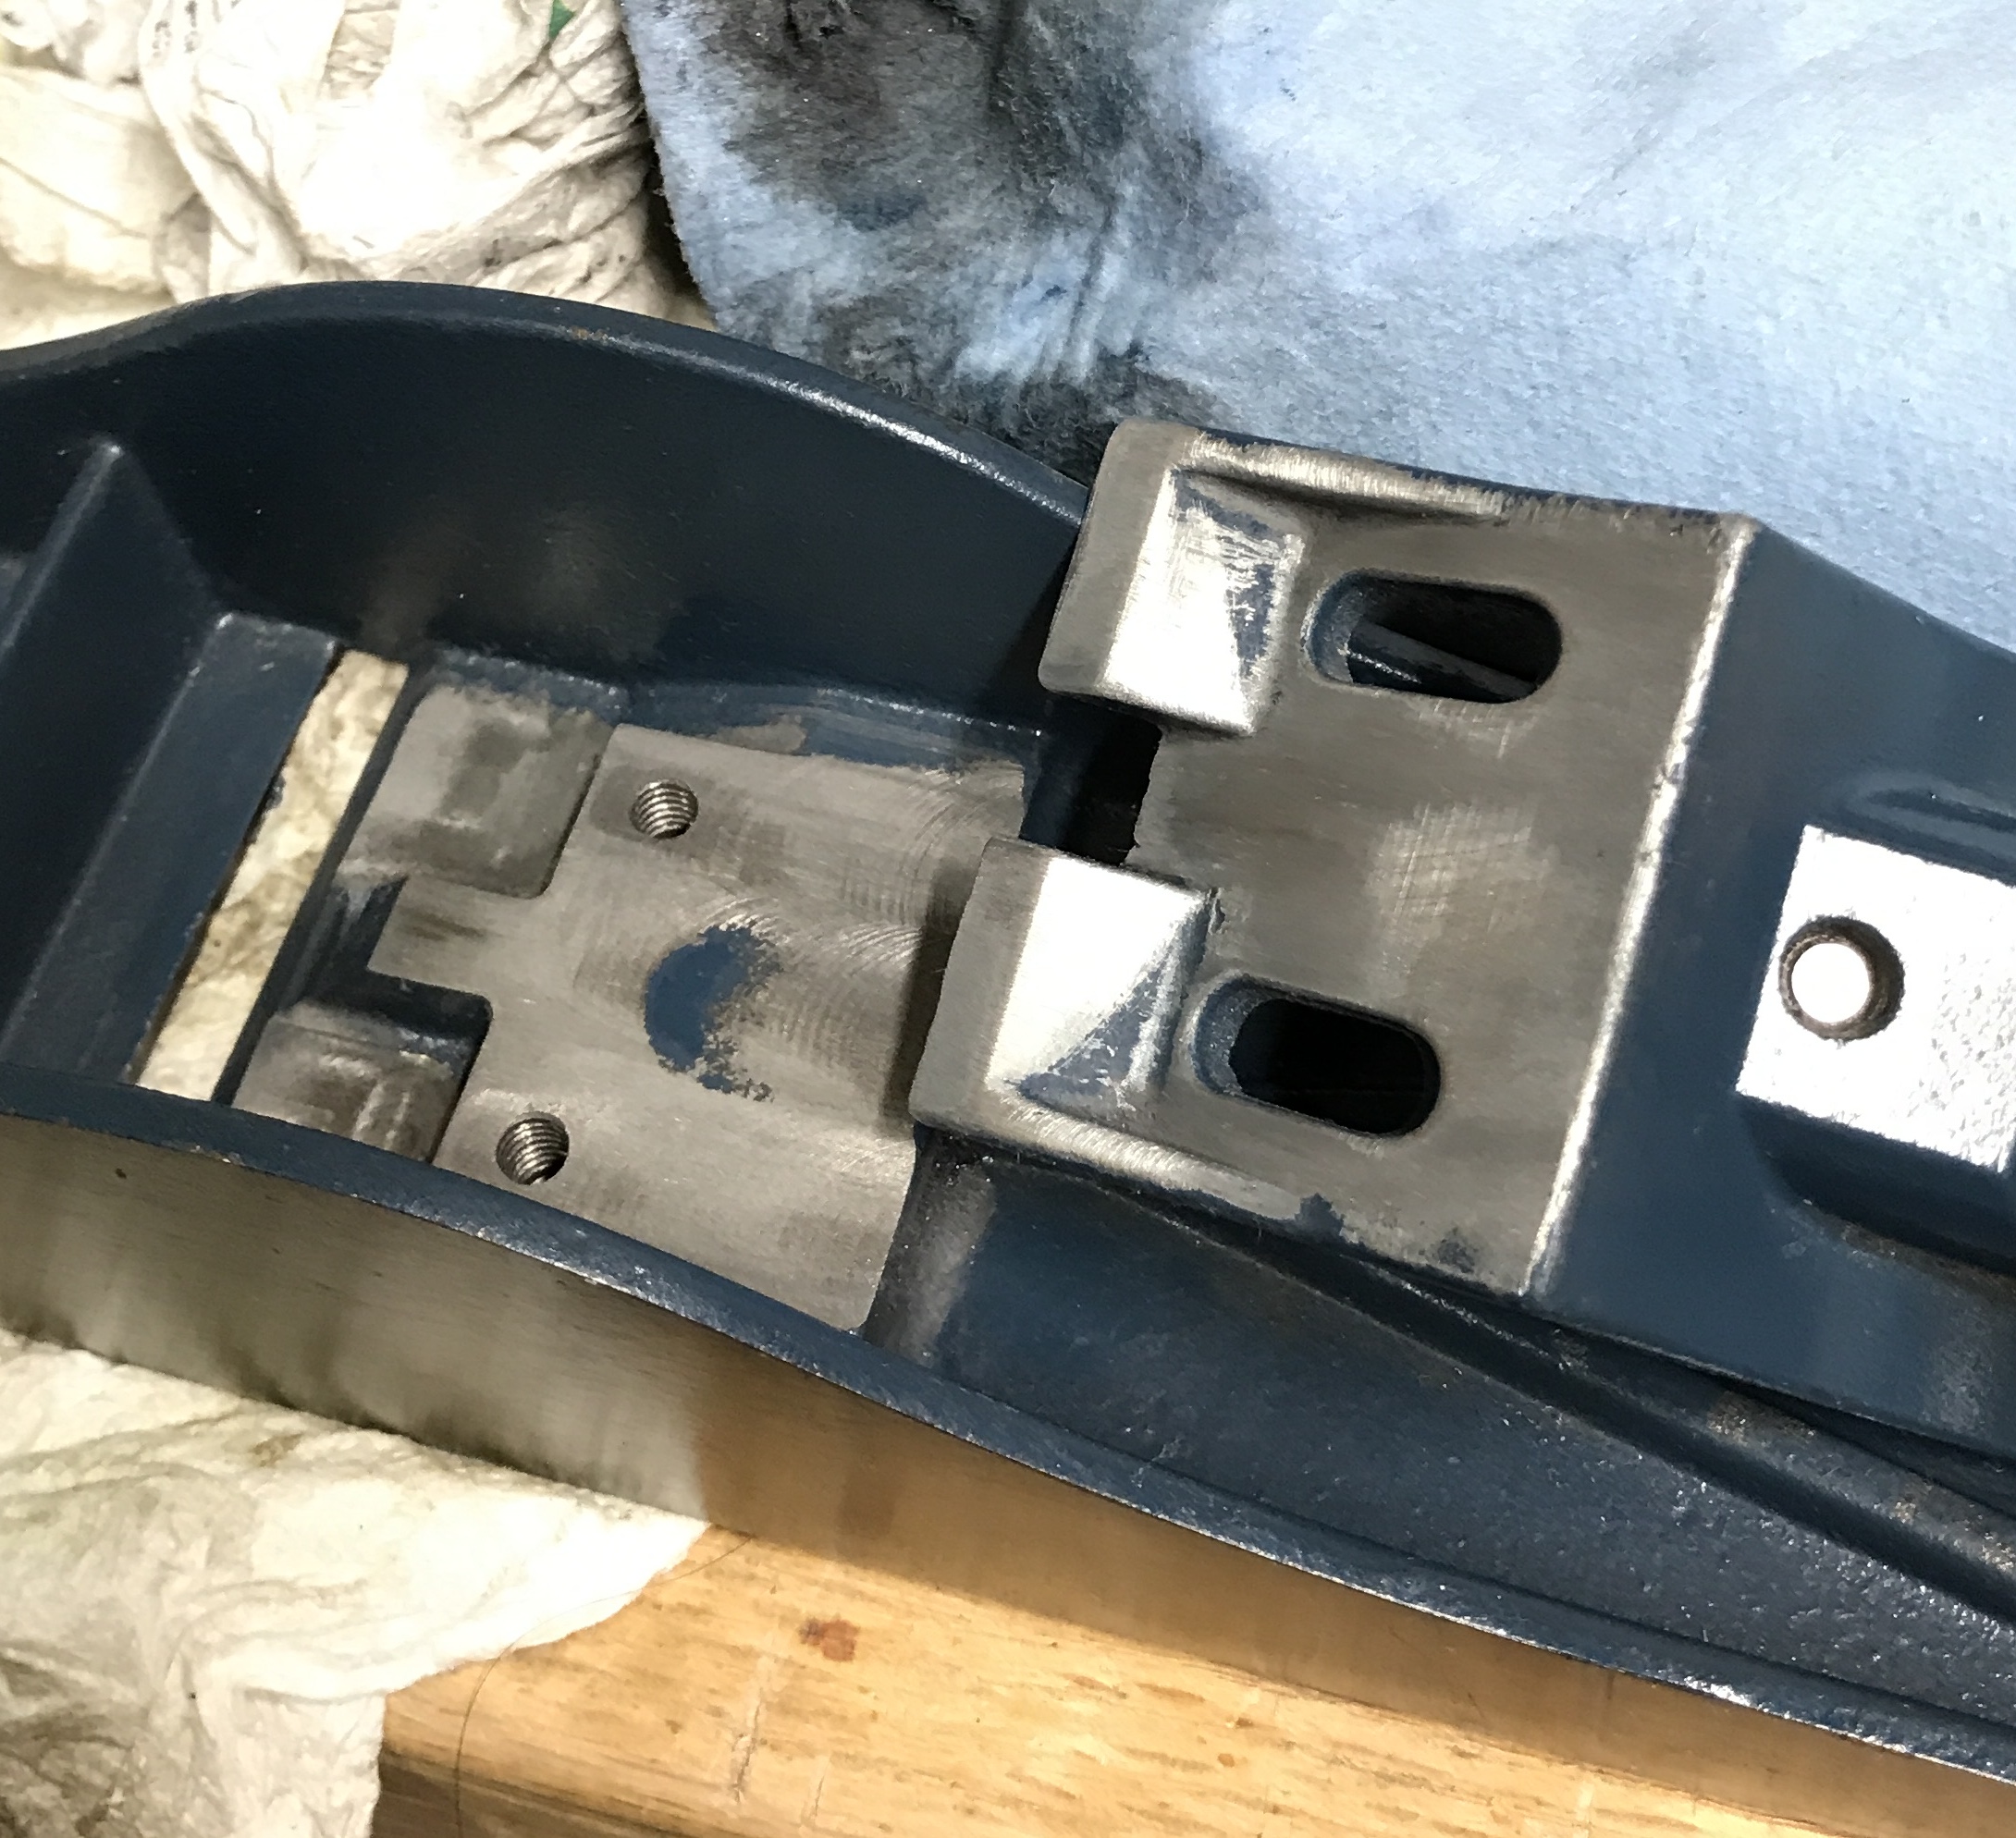
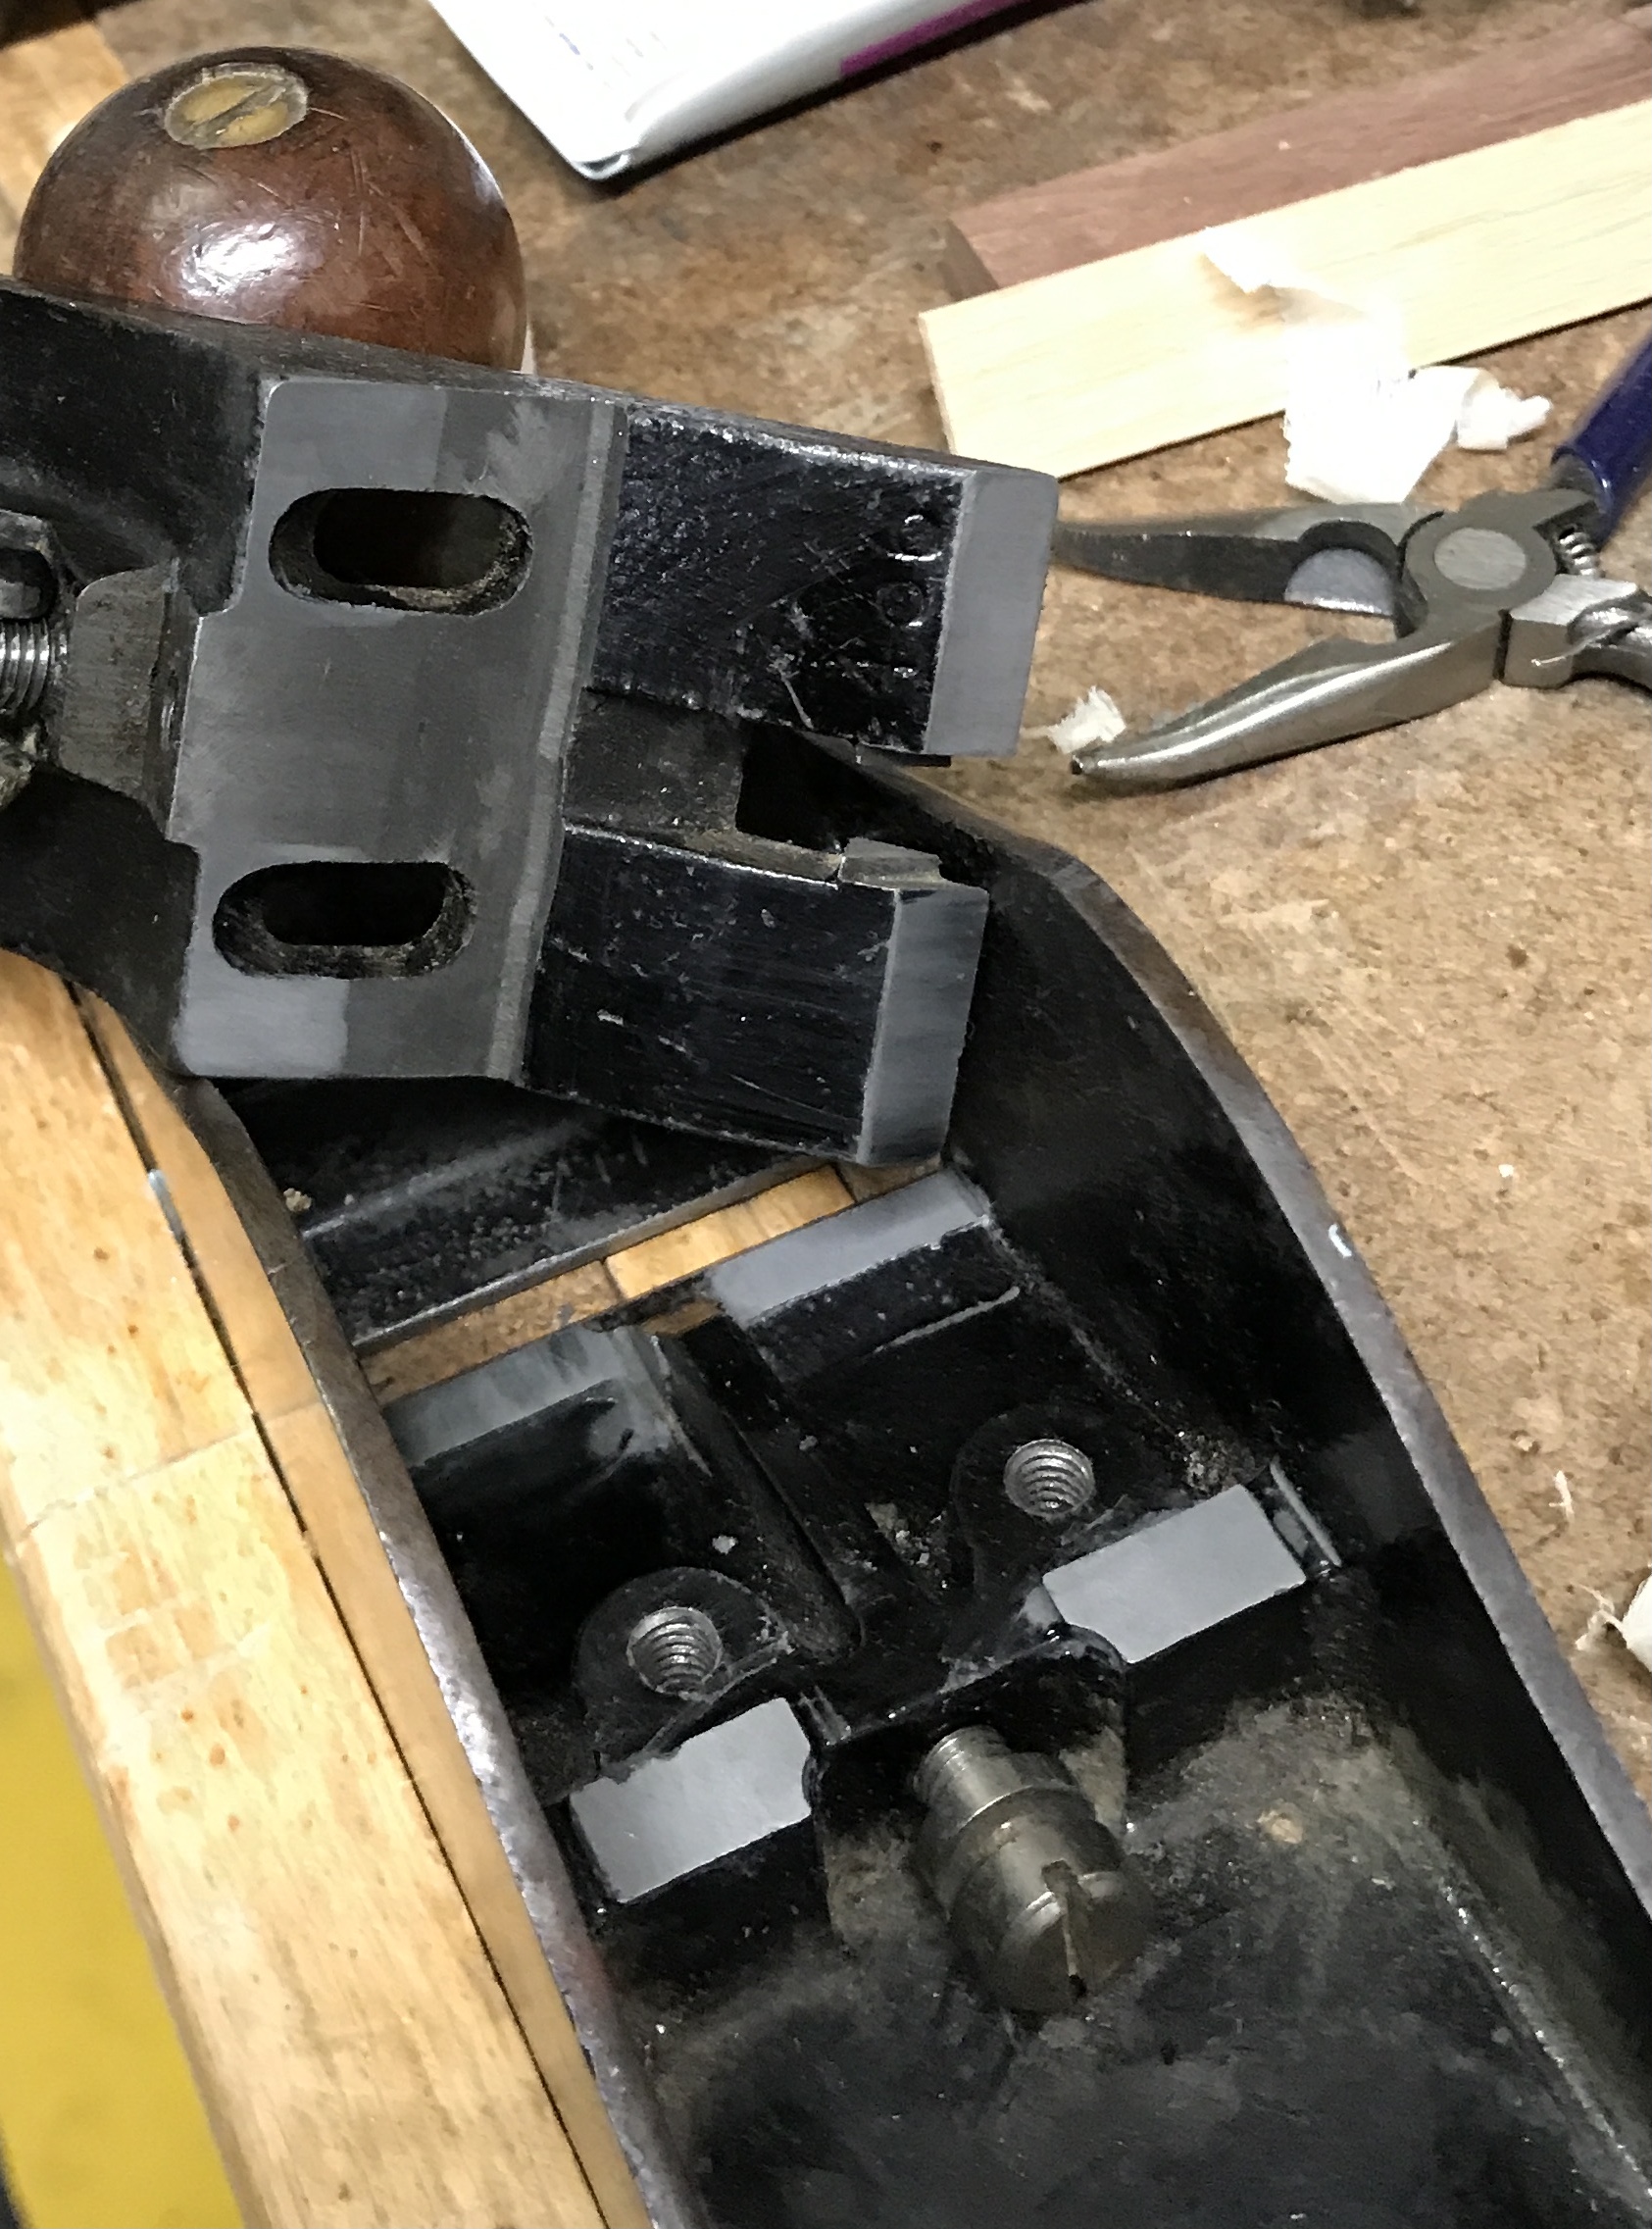
A week or two after the grinding compound arrived it was put to use. The Scotch wheel was used to remove most of the paint in the affected areas of the frog. A few small dabs of valve grinding compound were applied and fifteen minutes was spent rubbing the two parts back and forth against one another. The first photo shows the grinding in progress. The second shows the finish when 'complete'. It is not a shiny finish, but is smooth to the touch. Acetone was used to remove the post grinding mess.
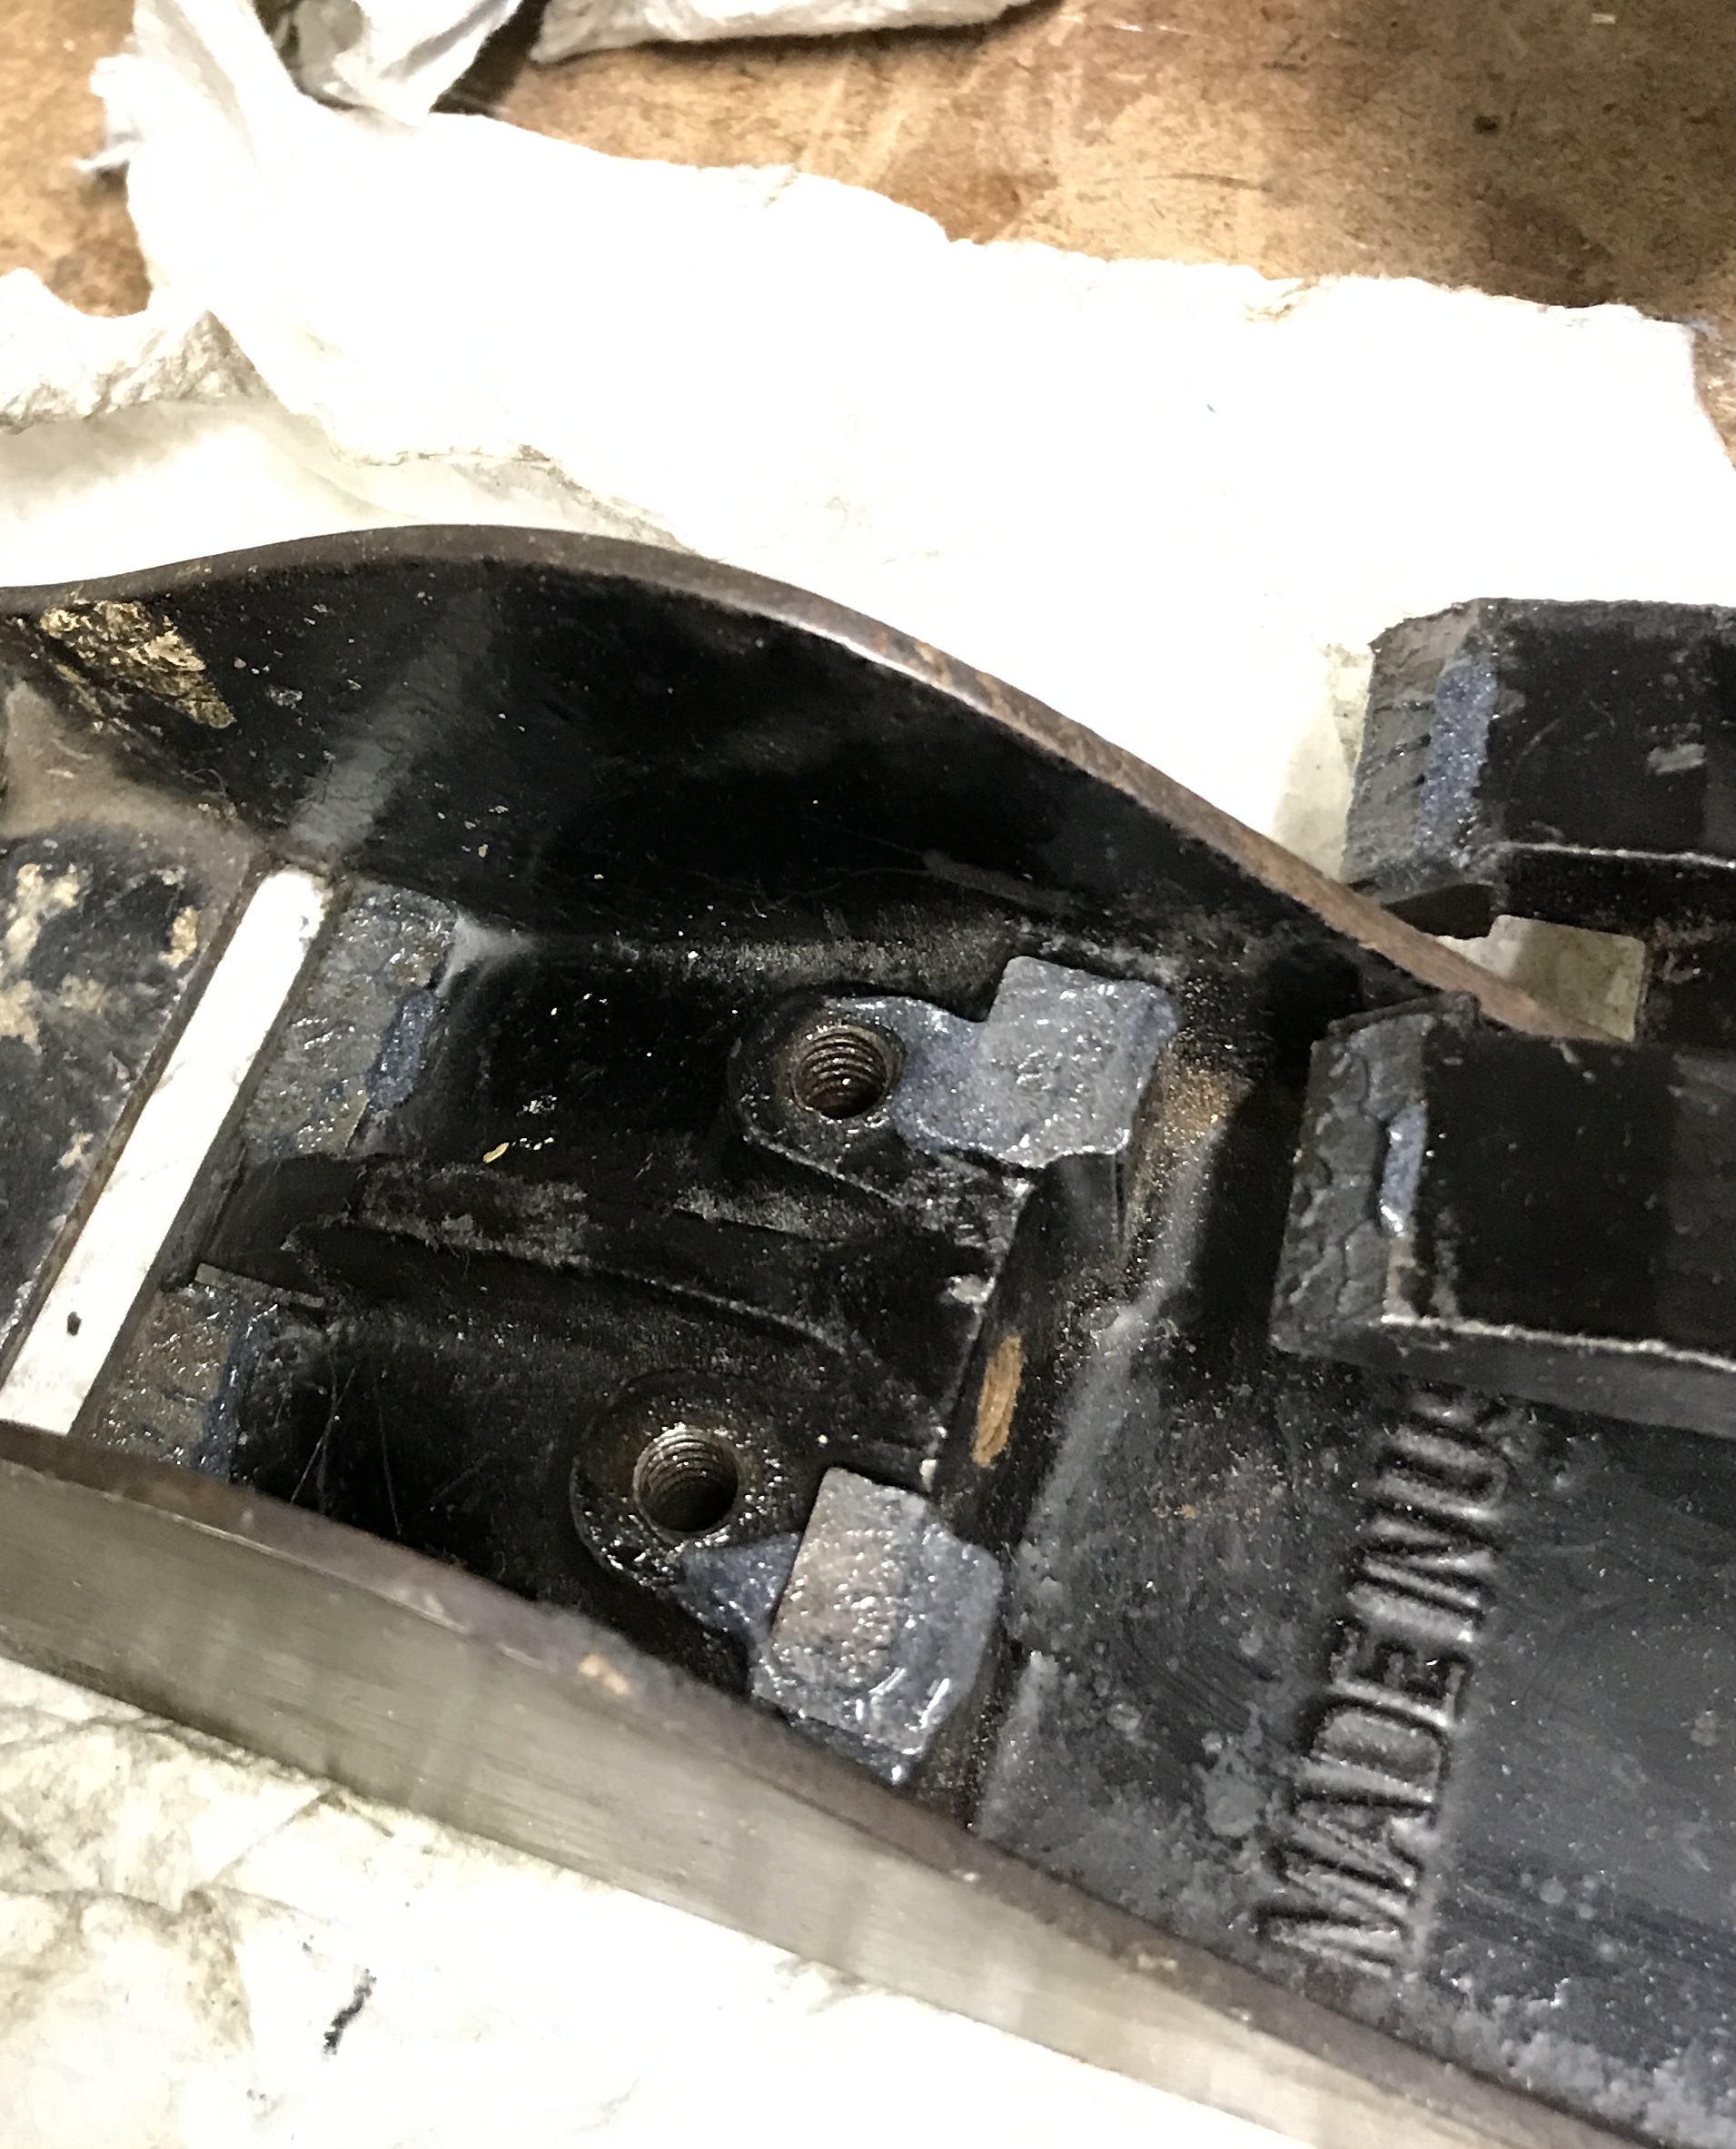
A similar process and amount of time was spent grinding the smallest of the three usable planes. Its grinding is shown below.
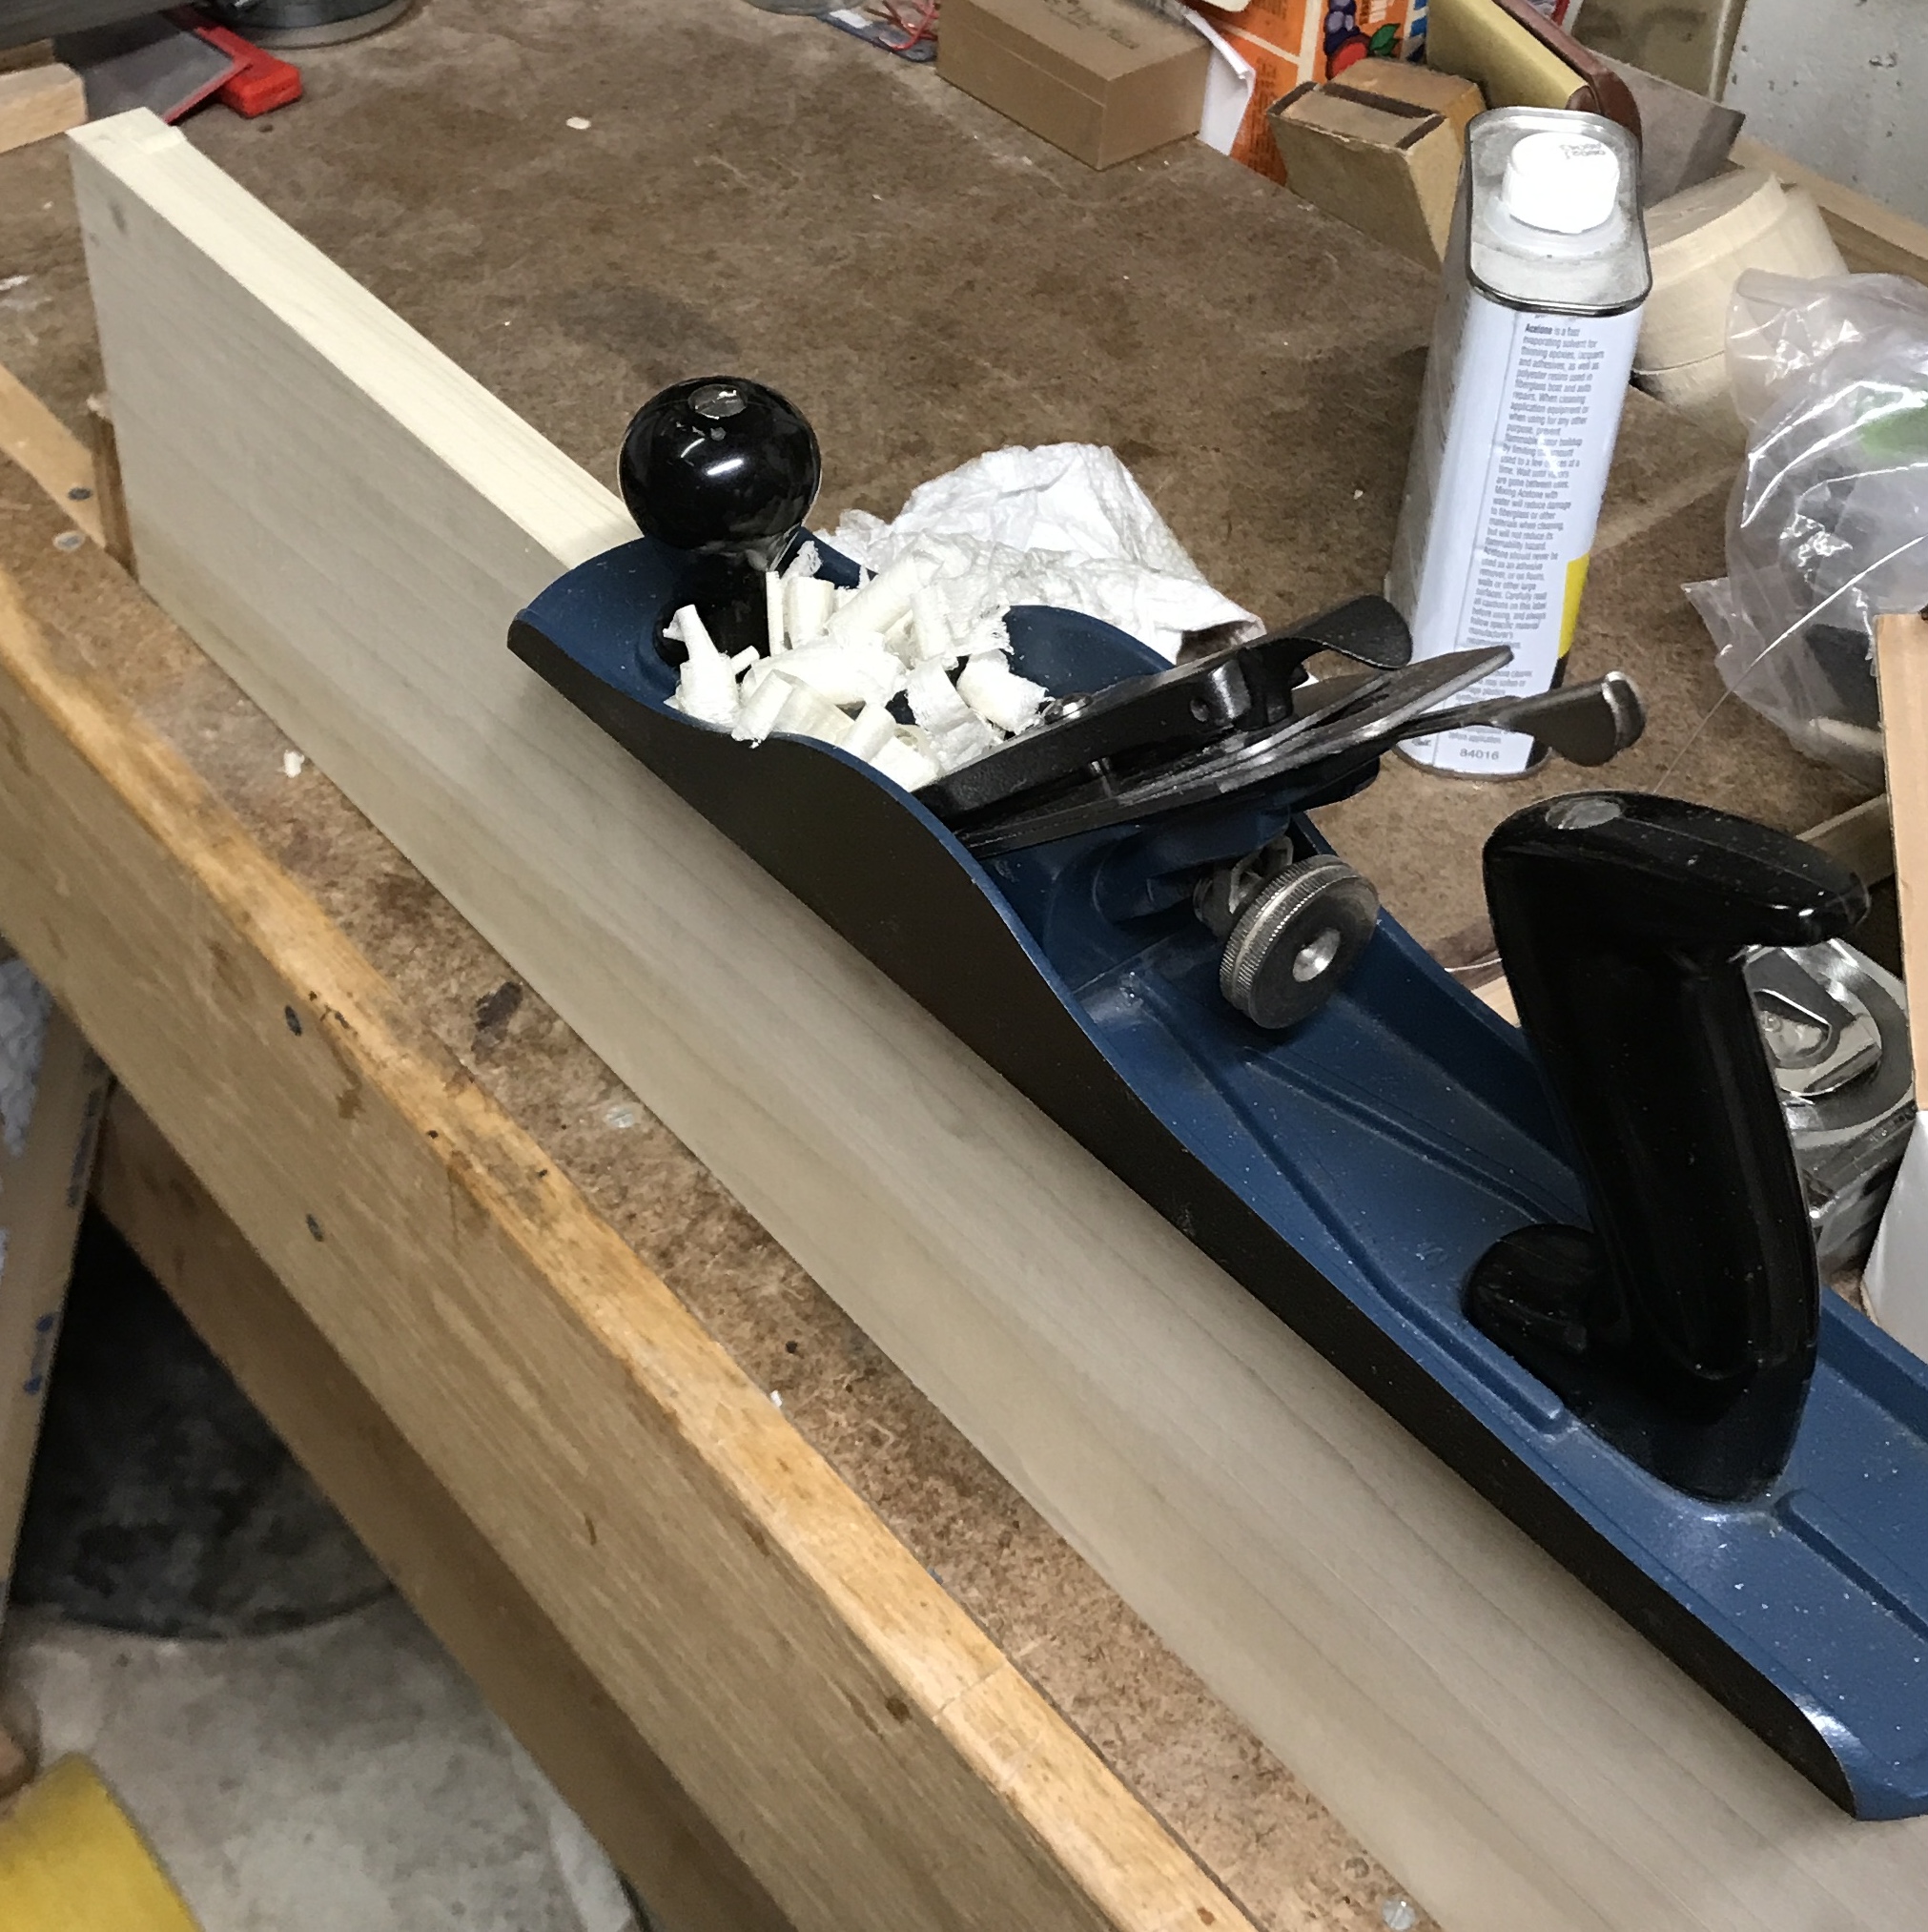
The final shot from today shows the paper-thin chips made with the completed Stanley plane from Doug. The blade for this plane is very well ground. The blades for the other two planes are in pretty bad shape and are next on the list for rehab.
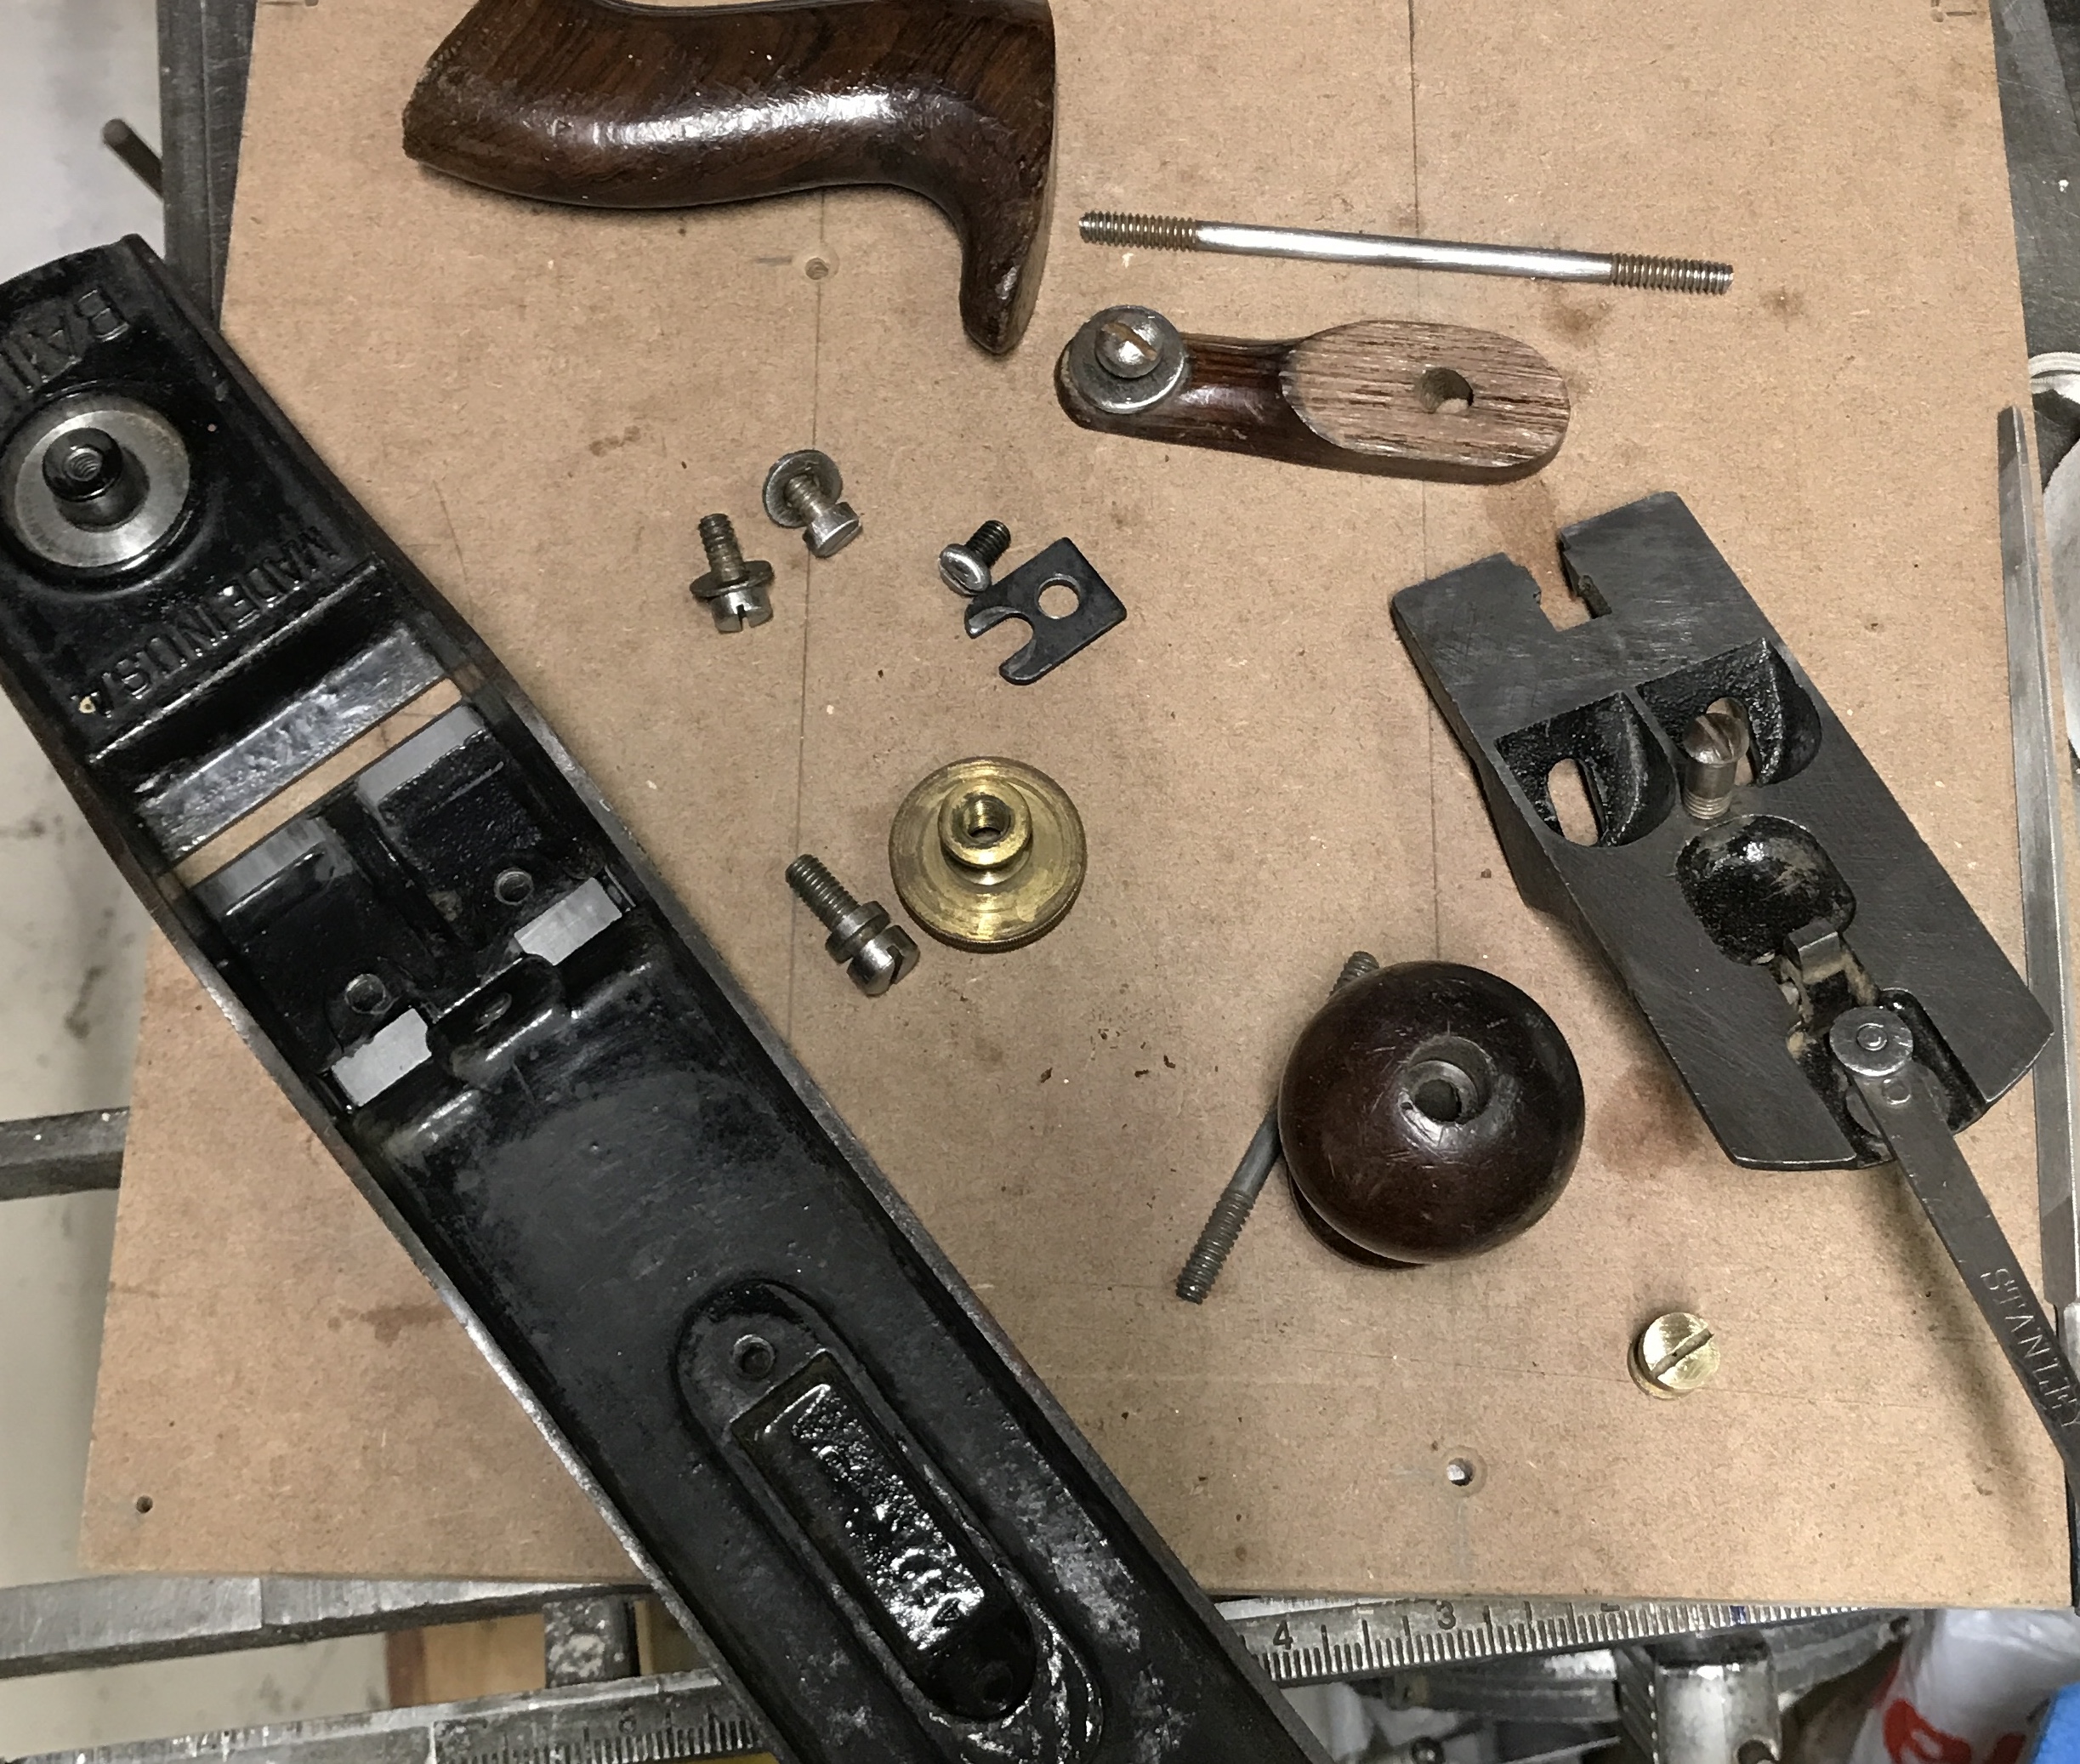
Continued working on the planes this morning. The old Stanley No. 5 had the frog and body ground. This was started at class, but not finished. After fifteen minutes the surfaces looked flat and all milling marks were gone. The rest of the parts had rust removed with the 3M wheel. Parts were oiled and reassembled to give the finished product shown below.
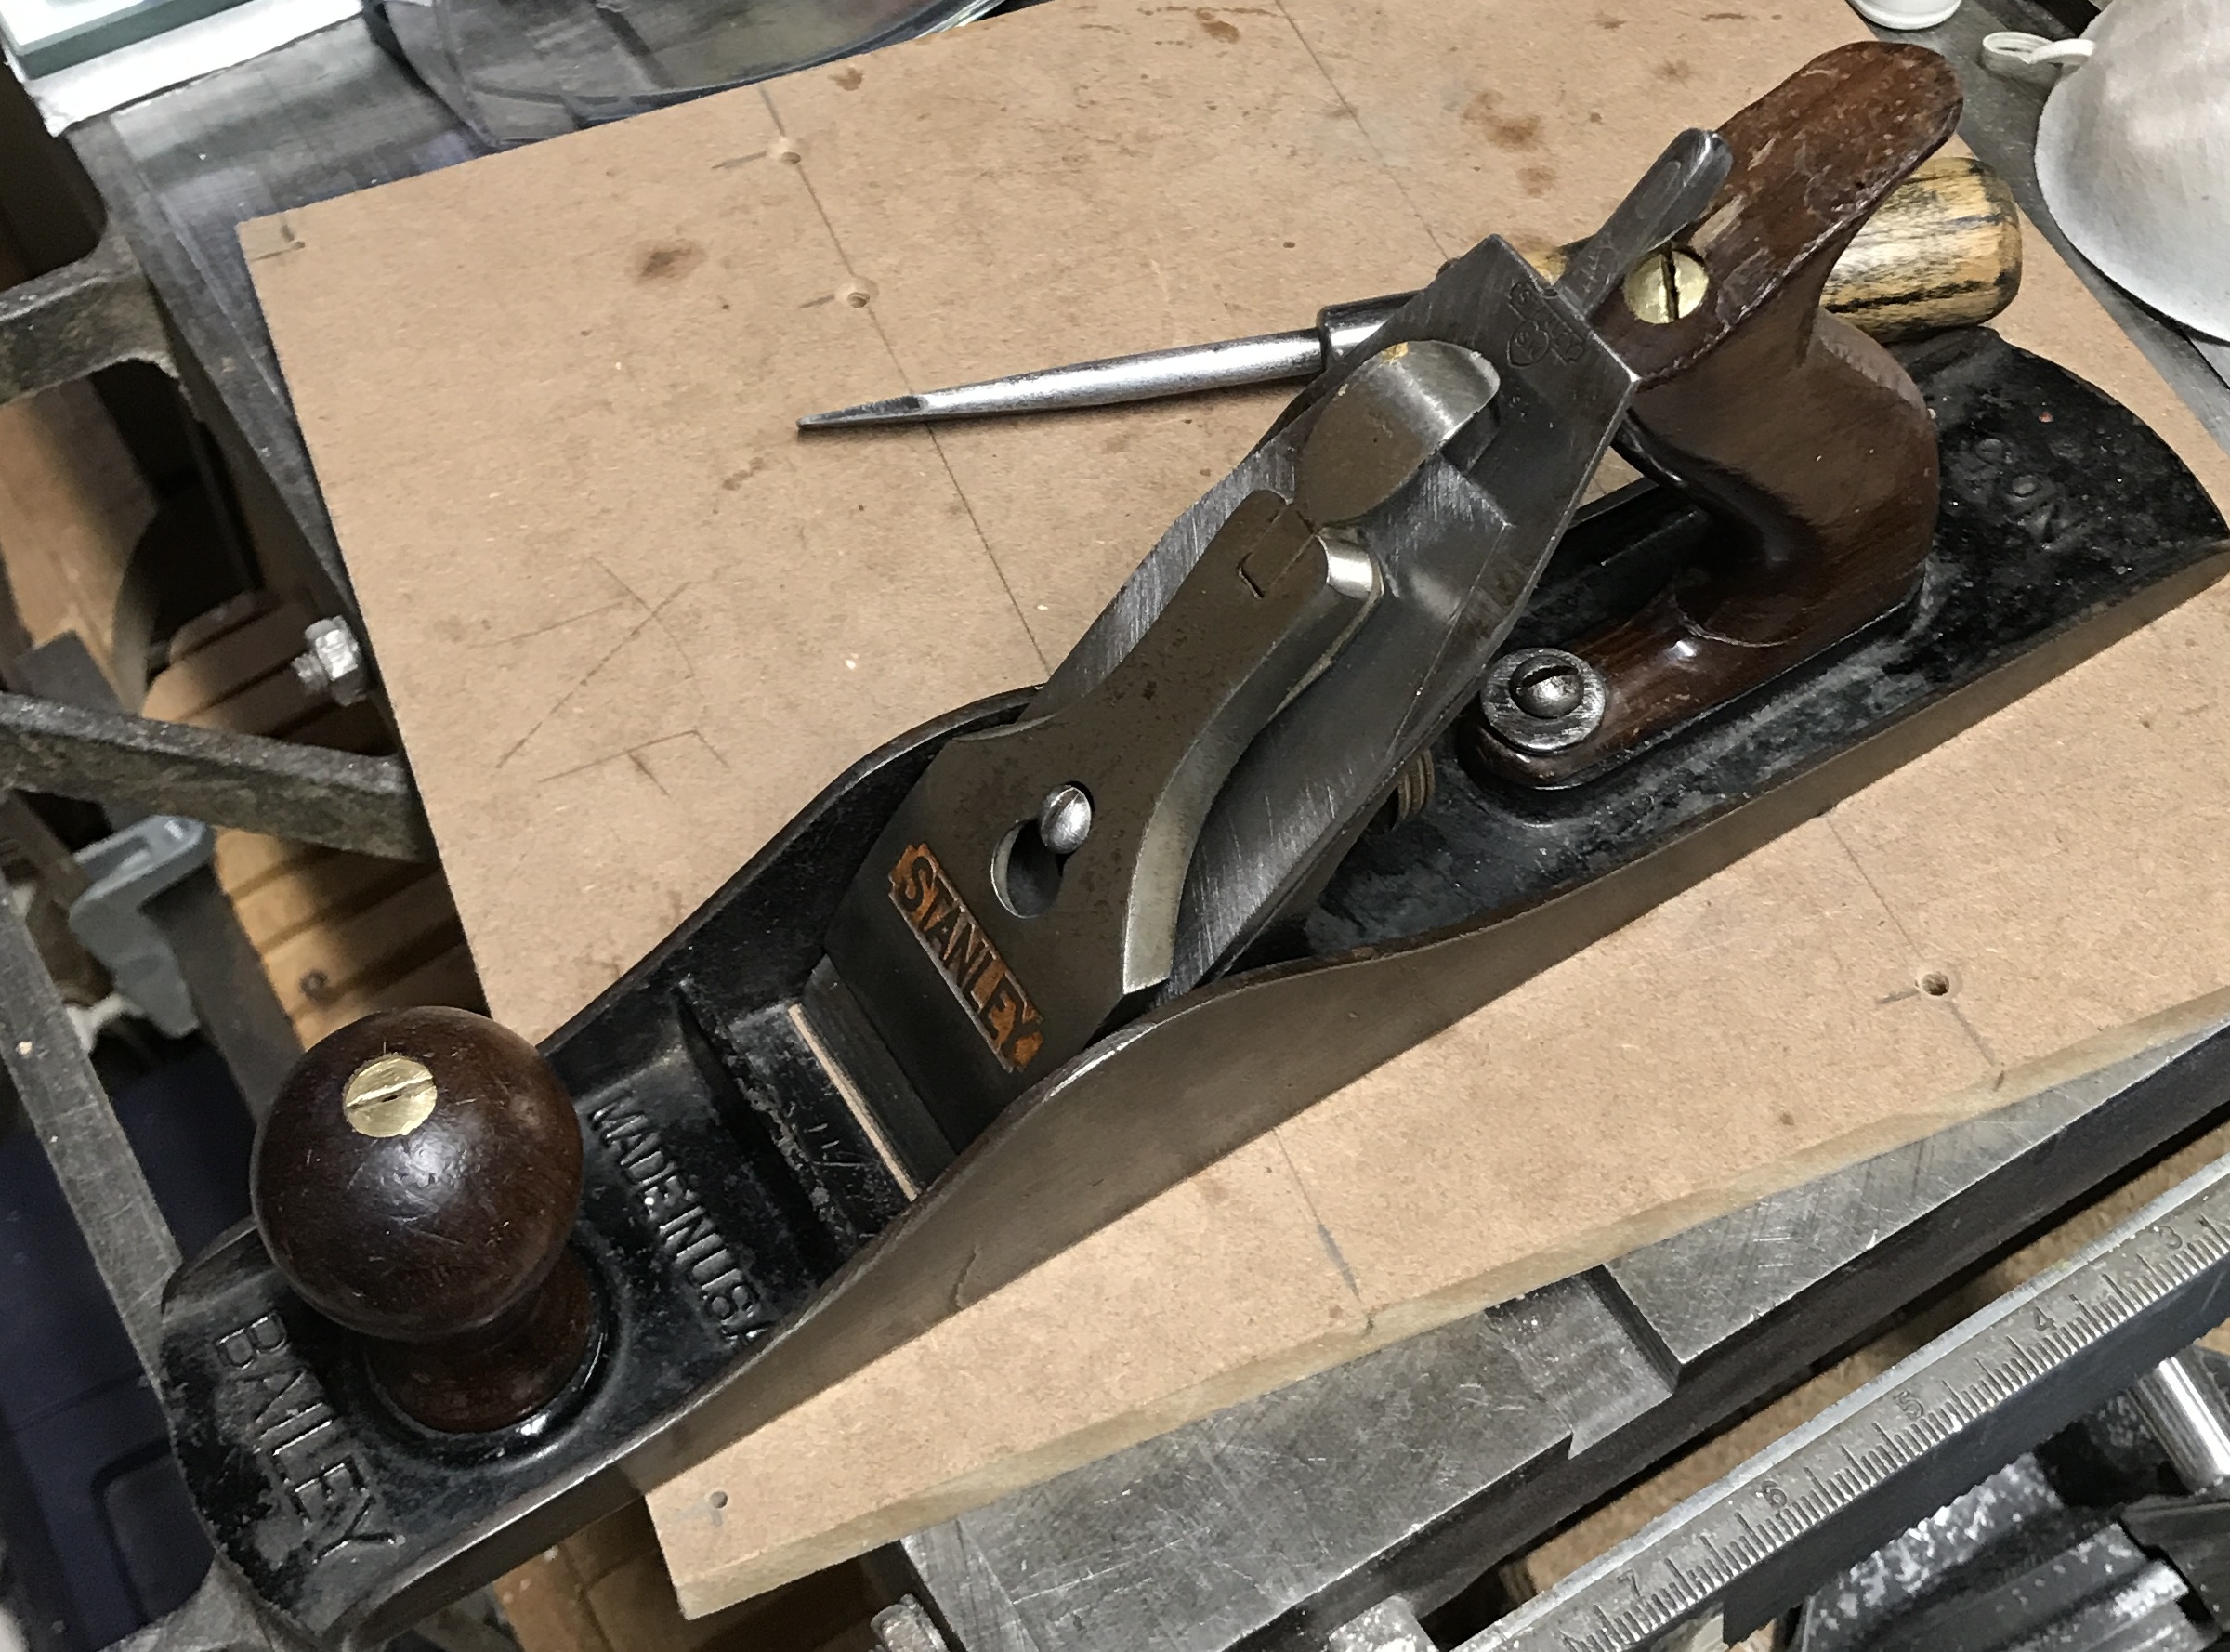
Finished up the third plane this afternoon. There is an extra blade. It was first sharpened on the grinding wheels. Then it was sharpened on the stone. The back was flattened on the stone as well. This blade fits in the two larger planes, so will be used in those as needed. The smaller blade was also sharpened on the wheel giving it a good curve. Then it was sharpened on the sonte with a lot of cutting fluid. Again the back was flattened on the stone. This blade is pretty aggressive and gives good chips. It is shown in the plane mouth in the photo below.
